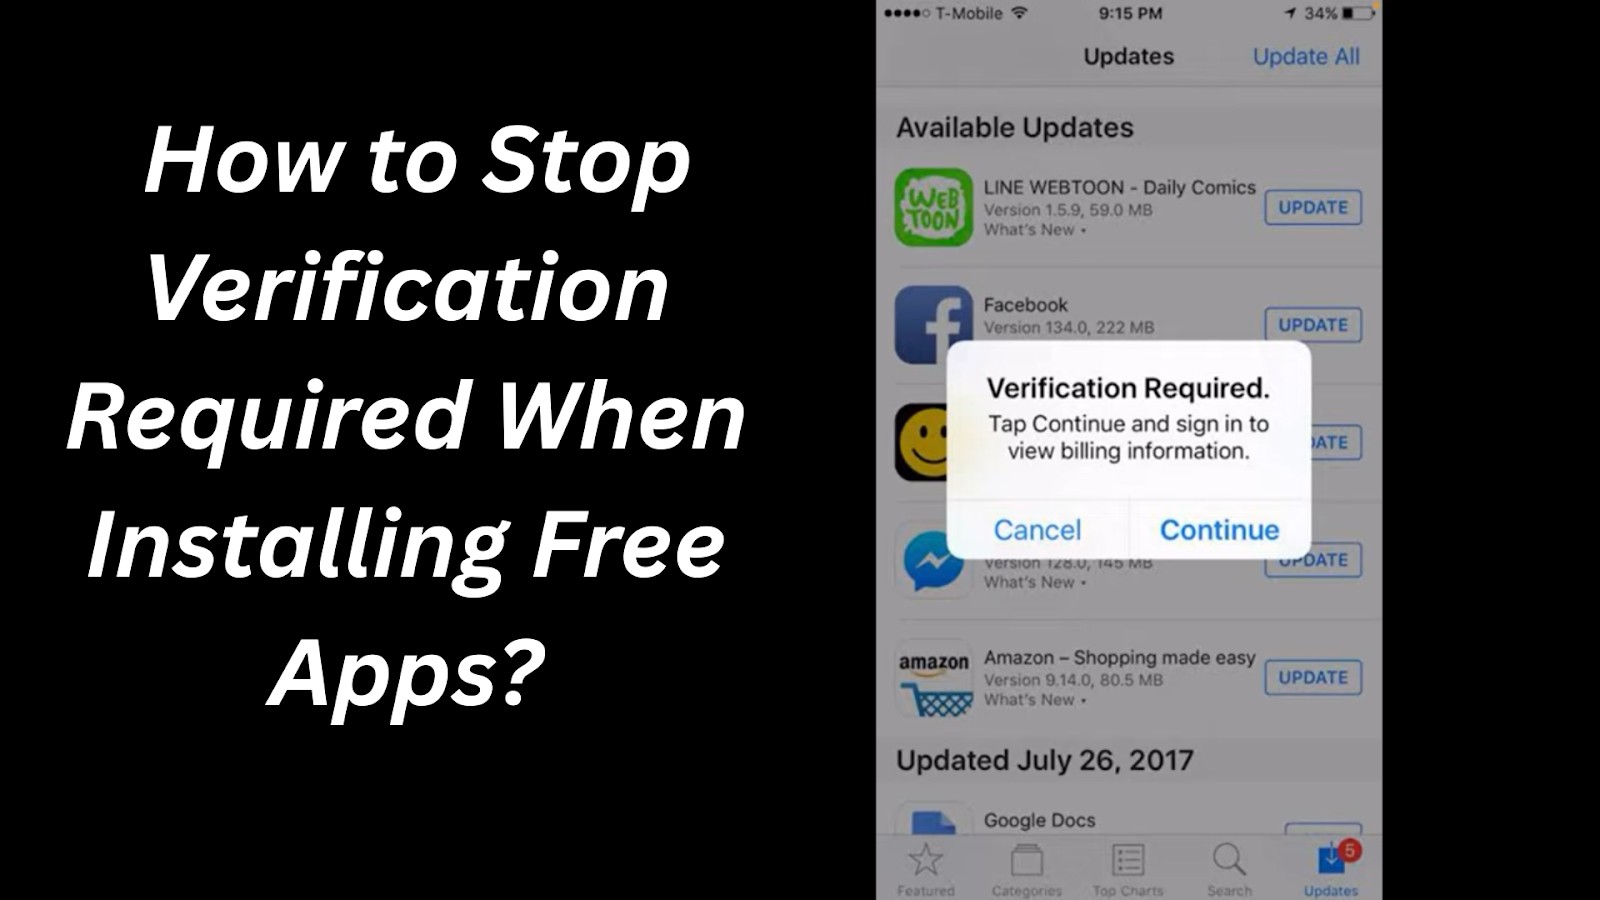
You just want to download a free app, but Apple keeps asking for payment verification. Super annoying, right? You’re not alone in this frustration.
Here’s the good news: You can stop this pop-up from appearing. I’ll show you exactly how to fix it, step by step.
This guide covers five proven methods that actually work. From setting your payment method to “None” to clearing unpaid balances that might be blocking you.
I’ve helped thousands of people solve this exact problem. Some fixes take 30 seconds. Others might need a few minutes if you have account issues to sort out.
Your time matters. You shouldn’t have to jump through hoops just to download free apps. That’s why I’m sharing the fastest, most reliable solutions that get you back to downloading apps without the verification hassle.
Ready to stop that annoying pop-up? Let’s fix this now.
Why does Verification Required appear for Free Apps?
Let me explain why this annoying pop-up keeps bothering you. It’s not just Apple being difficult – there are real reasons behind it.
Common Causes
Your payment method might be the problem. Even though you’re downloading free apps, Apple still checks your payment information.
Here are the main culprits:
Expired credit cards are the biggest issue. Your card expired last month? That’s probably it. Apple sees the invalid payment method and demands verification.
Unpaid balances mess everything up. Maybe you bought an app six months ago, and the payment failed. That $2.99 charge is still hanging around your account like a bad smell.
New Apple IDs get extra scrutiny. Apple doesn’t trust accounts with zero download history. They want to make sure you’re real before letting you loose in the App Store.
Account verification is always required for any App Store activity. Apple treats free apps the same as paid ones when it comes to account security.
Pattern interruption moment: Ever wonder why your friend doesn’t get this popup? Their account is probably squeaky clean.
Apple’s Reasoning
Apple isn’t trying to annoy you – they have legitimate business reasons for this verification process.
Account authentication prevents fraud. Fake accounts are used to flood the App Store with bogus downloads. Requiring payment methods weeds out the troublemakers.
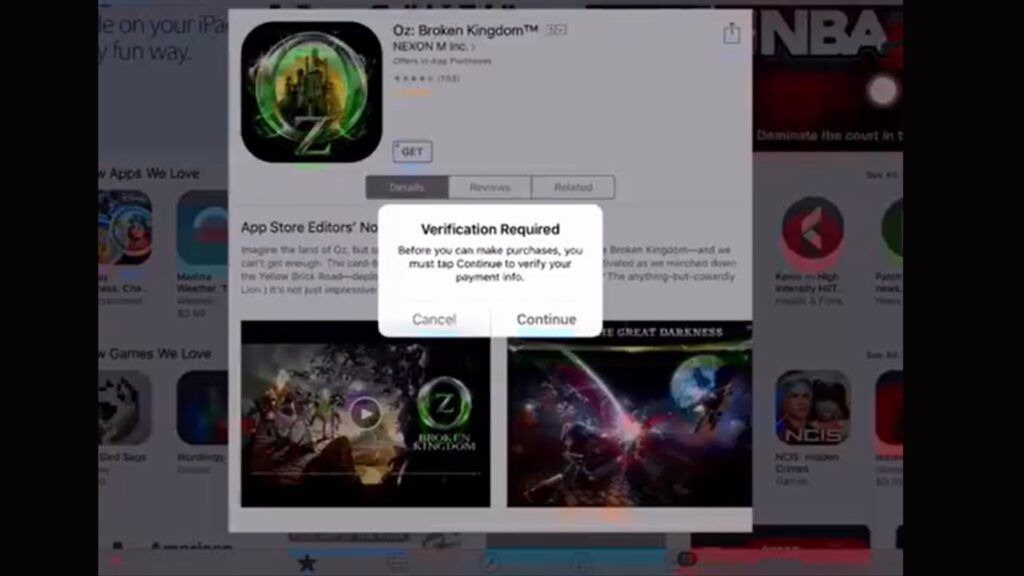
They’re preparing for in-app purchases. That free game might offer premium upgrades later. Apple wants your payment ready when you decide to spend money.
App Store ecosystem security matters to Apple’s reputation. They’ve built trust with developers and users. Verification helps maintain that trust.
Bottom line: Apple sees payment verification as a necessary evil. You just want to download apps. That’s why I’m here to help you bypass this requirement legally and safely.
Method 1 – Set Payment Method to “None” (Best Solution)
This is your golden ticket to stopping verification popups forever. It works for most people and takes less than two minutes.
When This Works
Before you start, make sure this method fits your situation.
You need a clean account with no financial issues. Here’s what that means:
No unpaid balances on your Apple ID. Not even that $0.99 app from last year that never processed properly.
No active subscriptions that need payment. Netflix, Spotify, and iCloud storage all require a valid payment method to keep running.
You only want free apps. If you plan to buy paid apps later, you’ll need to add a payment method back.
This is the most effective long-term solution because it removes the root cause. No payment method means no verification required.
Here’s the beautiful part: Once you set this up, the verification pop-up disappears permanently for free downloads.
Step-by-Step Process
Follow these exact steps and you’ll be done in under two minutes:
- Open the Settings app on your iPhone or iPad
- Tap your Apple ID at the very top (where your name and photo appear)
- Select “Media & Purchases” from the menu
- Tap “View Account”
You’ll need to authenticate here. Enter your password or use Face ID/Touch ID when prompted.
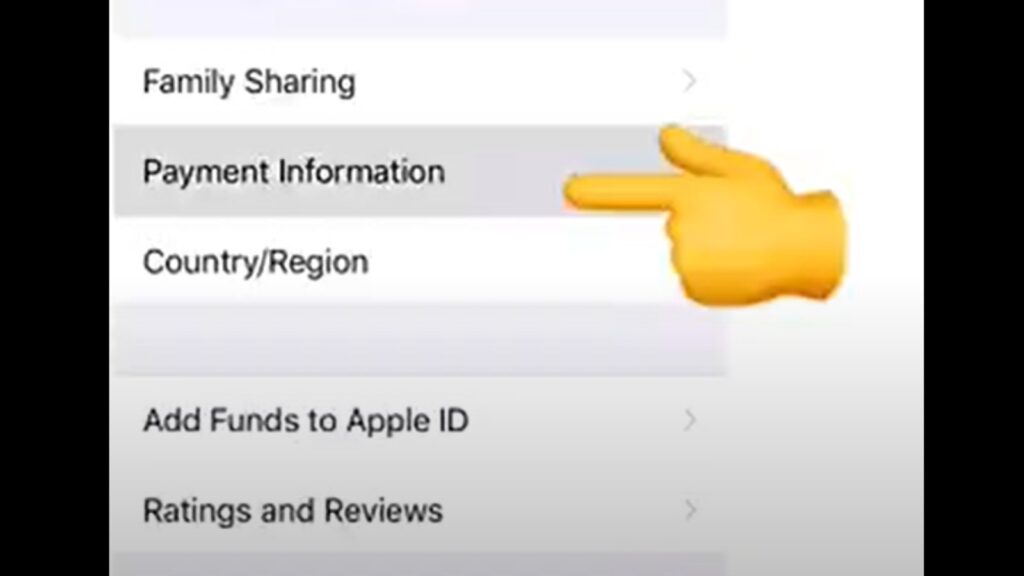
- Look for “Manage Payment Methods” and tap it
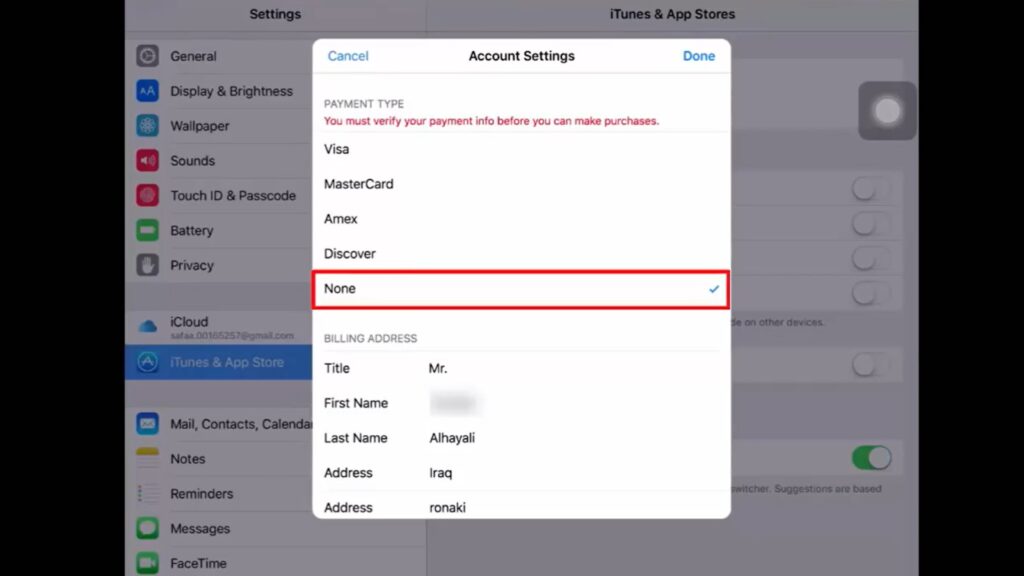
- This is the magic step: Select “None” as your payment option
- Tap “Done” to save your changes
That’s it. Exit Settings and try downloading a free app. The verification pop-up should be gone.
Method 2 – Clear Unpaid Balances

If Method 1 didn’t work for you, you probably have unpaid charges hiding in your account. Let’s find them and fix them.
Checking for Outstanding Charges
Time to play detective with your Apple ID account. Hidden charges are sneaky, but we’ll track them down.
Here’s how to find the troublemakers:
- Go to Settings > Apple ID > “Media & Purchases” > “View Account”
- Enter your password when prompted
- Tap “Purchase History” to see everything you’ve ever bought
- Look carefully for items marked “Pending” or shown in red text
Red text means trouble. Those are failed payments that Apple remembers even if you forgot about them.
Don’t just check recent purchases. Scroll back several months. That $2.99 app from last Christmas might still be causing problems.
Also, check your active subscriptions by going back to your account page. Look for any that show payment failures or expired cards.
Here’s what surprised me: Sometimes subscriptions fail silently. You think they’re canceled, but Apple thinks you still owe money.
Resolving Payment Issues
Found some unpaid charges? Don’t worry – fixing them is straightforward.
First, add money to your payment method. If you have a credit card on file, make sure it has enough available credit. PayPal users need a sufficient balance in their PayPal accounts.
Here’s the key part: You need to cover ALL pending charges, not just the most recent ones. If you owe $15.47in total, make sure you have at least that much available.
Apple processes these payments automatically once your payment method has funds. You don’t need to manually retry each purchase.
Now comes the waiting game. Apple takes 48-72 hours to process these old charges. I know it’s annoying, but that’s just how their system works.
Don’t try downloading apps immediately after adding funds. Give Apple time to clear the slate. Check your purchase history again after a couple of days.
Pro tip: You’ll know it worked when those red-flagged items disappear from your purchase history or change to normal black text.
Once everything clears, go back to Method 1 and set your payment method to “None.” This prevents future balance issues.
Method 3 – Update Payment Method
Sometimes the problem isn’t unpaid balances – it’s just outdated payment information. Let’s get your account current.
Fixing Invalid Payment Information
Your payment method might have expired without you realizing it. This happens more than you think.
Here’s how to check what’s wrong:
- Navigate to Settings > Apple ID > “Payment & Shipping”
- Enter your password or use Face ID/Touch ID
- Look at your current payment methods listed here
Check expiration dates first. That credit card from 2022? Probably expired by now. Apple won’t tell you directly – they just keep asking for verification.
Billing address problems are another sneaky issue. Did you move recently? Your card might be valid, but the address doesn’t match what your bank has on file.
Here’s what many people miss: Sometimes banks decline payments for security reasons. Your card works everywhere else but gets flagged for App Store purchases.
Time to clean house. Remove any payment methods that are expired, declined, or just plain wrong.
Tap “Edit” in the top-right corner, then tap the red minus button next to bad payment methods. Get rid of the dead weight.
Adding a New Payment Method
Now let’s add a payment method that works. This process is simple but requires attention to detail.
Start by tapping “Add Payment Method” in your payment settings. You’ll see options for credit cards, debit cards, and PayPal.
Enter your information carefully. One wrong digit in your card number and you’re back to square one. Double-check everything before moving on.
The billing address is crucial. It must match exactly what your bank or credit card company has on file. Even apartment numbers matter.
PayPal users have it easier – just sign into your PayPal account and authorize Apple to use it.
Here’s a smart move: Test your new payment method with a small purchase. Buy a $0.99 app or add $1 to your Apple account balance. Better to find problems now than when you need something.
Wait a few minutes after adding your payment method. Sometimes Apple’s system needs time to verify everything with your bank.
Once your new payment method is working, you can either keep it for future purchases or go back to Method 1 and set it to “None” for free apps only.
Bottom line: Fresh, valid payment information usually solves verification problems immediately.
Method 4 – Disable App Store Purchase Restrictions
Here’s a sneaky culprit most people don’t think about. Your Screen Time settings might be causing the verification pop-up.
Screen Time Restriction Issues
Screen Time can mess with your App Store in ways you wouldn’t expect. Even if you set it up for good reasons.
Password requirements create verification loops. You enable Screen Time to control app downloads, but it makes Apple think every download needs extra verification.
Purchase restrictions confuse the App Store. Your phone thinks you’re trying to buy something when you’re just downloading free apps. The result? Verification Required pop-up.
Content restrictions make things worse. If you’ve limited app downloads in any way, Apple assumes you need permission for everything.
Here’s the kicker: You might have enabled these restrictions months ago and completely forgotten about them. They’ve been silently causing problems ever since.
Even restrictions meant for kids can affect adult accounts if not configured properly.
Adjusting Settings
Time to check your Screen Time settings and fix what’s blocking you.
Follow these steps exactly:
- Open Settings > Screen Time
- Tap “Content & Privacy Restrictions”
- Enter your Screen Time passcode if prompted
- Select “iTunes & App Store Purchases”
Now you’ll see the real problem. Look at these specific settings:
Set “Installing Apps” to “Allow” – this stops blocking free app downloads completely.
Choose “Don’t Require” under password requirements – this prevents the verification loop from starting.
Make sure “In-app Purchases” is set to “Allow” even if you don’t plan to buy anything. Sometimes this affects free downloads, too.
Here’s what’s confusing: These settings have unclear names. “Installing Apps” sounds like it only affects paid apps, but it controls all downloads.
Double-check your work by going back through each setting. One missed toggle can keep causing problems.
Test immediately by trying to download a free app. The verification pop-up should be gone.
Important note: These changes won’t affect other Screen Time features like app limits or downtime. You’re only fixing the purchase restrictions that cause verification issues.
Method 5 – Sign Out and Back Into Apple ID
Sometimes your account just needs a fresh start. This method fixes weird glitches that other solutions can’t touch.
When Account Refresh Helps
Your Apple ID can get “stuck” in verification mode even when everything else looks fine. It’s like your account has digital amnesia.
Here are the telltale signs this method will help you:
Temporary sync issues between your device and Apple’s servers. Your account settings look correct, but Apple’s system thinks something’s wrong.
Cached authentication problems are common. Your phone remembers old verification requirements that should have been cleared already.
Minor software glitches affect App Store access. These bugs are invisible but cause real problems. A fresh login usually fixes them.
Here’s what’s interesting: This often works when you’ve tried everything else and failed. Your account isn’t broken – it just needs to reconnect properly.
I’ve seen this fix a problem that shouldn’t exist. Account settings are perfect, and payment methods are valid, but verification still appears. Sometimes technology just needs a reboot.
Refresh Process
This process is simple but requires patience. Don’t rush through the steps.
Start the sign-out process:
- Go to Settings > Apple ID profile (your name at the top)
- Scroll down and tap “Sign Out”
- Enter your Apple ID password when prompted to confirm
Choose what data to keep on your device during sign-out. I recommend keeping everything unless you have storage issues.
Here’s the important part: Restart your iPhone or iPad completely after signing out. Don’t skip this step. Hold the power button and swipe to power off.
Wait a full minute before turning your device back on. Let everything clear out completely.
Sign back in carefully:
- Open Settings and tap “Sign in to your iPhone”
- Enter your Apple ID and password exactly as they appear
- Complete two-factor authentication if prompted
- Allow time for sync – don’t rush to the App Store immediately
Test your fix by downloading a free app. The verification pop-up should be gone.
If it still appears, wait another 10-15 minutes. Sometimes, account sync takes time to complete fully.
Bottom line: This method works when your account has invisible glitches that standard fixes can’t resolve.
Conclusion
The “Verification Required” pop-up doesn’t have to ruin your day. Most people can solve this in under two minutes using the methods above.
Start with Method 1 – setting your payment method to “None.” This works for 90% of users and prevents future verification popups. If that doesn’t work, you likely have unpaid balances to clear first.
Remember the key points: Clear any outstanding charges, update expired payment methods, and disable unnecessary purchase restrictions. Most verification issues stem from simple account problems.
I’ve used these methods myself and helped countless others get back to downloading free apps without hassle. They work because they address the root causes, not just the symptoms.
Going forward, keep your payment information current to avoid future issues. Your App Store experience should be smooth and frustration-free.
Bottom line: These solutions work. Pick the right one for your situation and get back to enjoying your apps.
Frequently Asked Questions
Why does Apple require payment verification for free apps?
Apple requires payment verification for account security, fraud prevention, and to facilitate potential in-app purchases within applications.
Can I permanently avoid adding a payment method?
Yes, set the payment method to “None” in Apple ID settings; it works permanently unless you need paid apps.
Will this affect my existing app subscriptions?
Existing subscriptions continue working but may fail to renew without a valid payment method; add a payment before renewal.
What if the “None” option doesn’t appear in payment methods?
You have unpaid balances that must be cleared first; check your purchase history and resolve outstanding charges.
How long do payment updates take to resolve verification?
Payment method changes work immediately; clearing unpaid balances may take 48-72 hours for Apple processing.


