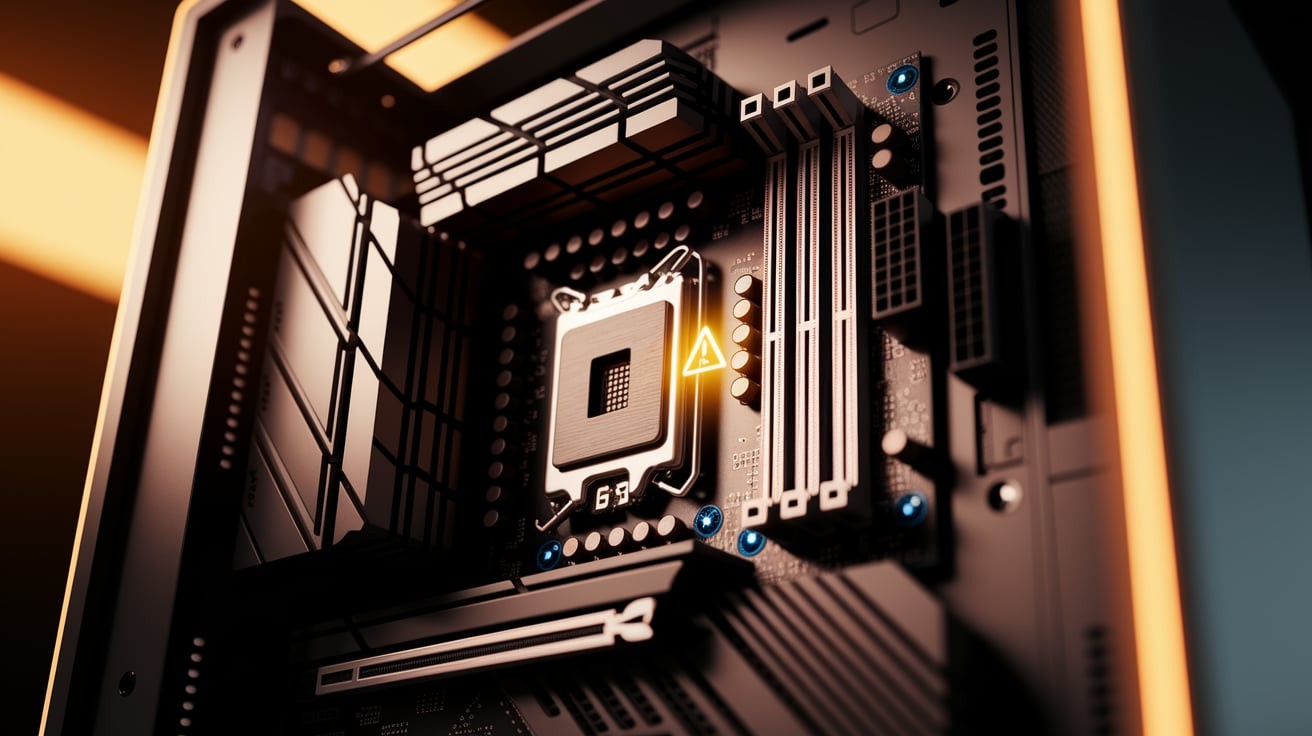
Seeing that little DRAM light glowing on your motherboard can stop any PC build or troubleshooting session in its tracks. It’s one of those warning signals that needs immediate attention, but what exactly is it telling you?
Those tiny LEDs on your motherboard aren’t just for show-they’re your computer’s way of communicating specific problems. When the DRAM indicator lights up, your system is flagging issues with memory that prevent normal startup.
In this guide, we’ll explain what triggers this warning light, walk through practical fixes you can try yourself, and help you understand when the problem might be more serious than a loose memory stick.
What Is the DRAM Light on a Motherboard?
When you look at a modern motherboard, you’ll notice several small LEDs that serve as visual status indicators for your system. The DRAM light is specifically dedicated to monitoring your computer’s memory status.
1. Understanding Diagnostic LEDs
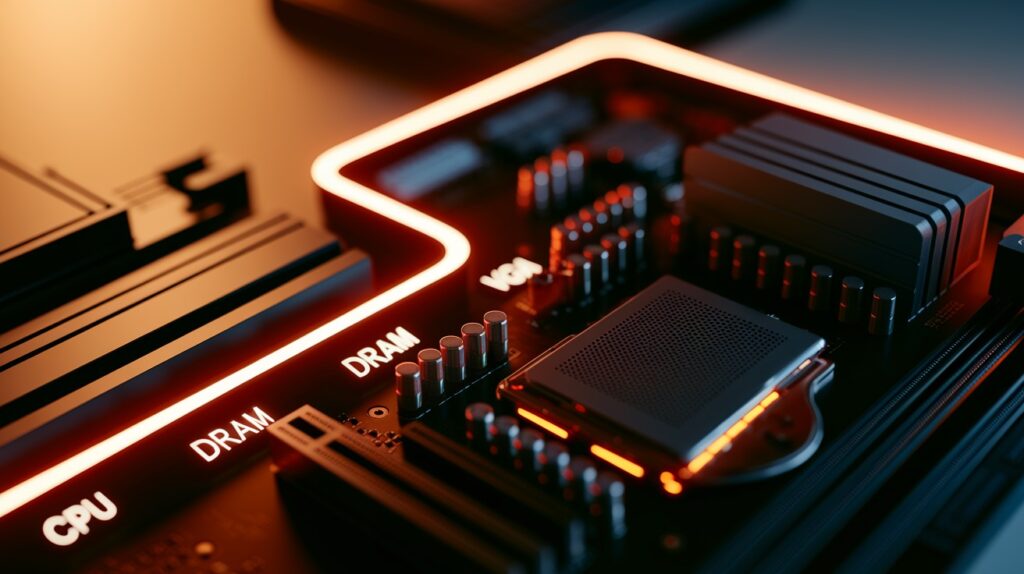
Modern motherboards come equipped with a set of diagnostic LEDs that function as a basic troubleshooting system. These indicators typically include:
- CPU light – Monitors the processor status and initialization
- DRAM light – Shows memory detection and functionality issues
- VGA light – Indicates graphics card or display connection problems
- BOOT light – Signals issues with the boot device or operating system loading
These lights work in sequence during startup, turning on and then off as each component passes its check. If one stays lit, it points to a problem with that specific component.
2. Common Colors and Behaviors
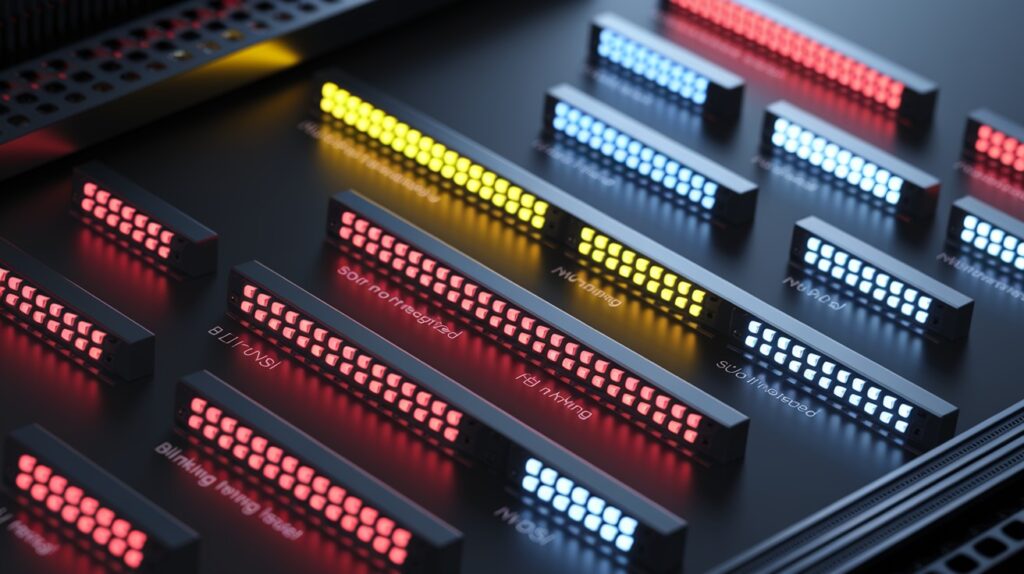
The DRAM light communicates different issues through its behavior:
- Solid light – Usually indicates a complete failure to recognize memory
- Blinking light – Often suggests partial recognition but with problems (timing issues or compatibility)
Manufacturers use different color schemes:
- Red (ASUS, MSI) – Typically signals critical memory failures
- Yellow/Orange (Gigabyte) – Often indicates memory detection issues
- White (Some ASUS models) – Shows memory testing in progress
The meaning of these colors can vary between motherboard models, so consulting your specific motherboard manual provides the most accurate interpretation.
What Causes the DRAM Light to Turn On?
The DRAM light activates when your motherboard detects issues with memory initialization. Understanding what triggers this warning helps you focus your troubleshooting efforts in the right direction.
1. Incorrect RAM Installation
Memory installation problems are among the most common causes of DRAM light warnings:
- Improper seating of RAM sticks – Memory modules that aren’t fully inserted won’t make proper contact with the motherboard. This happens frequently during new builds or after cleaning when RAM isn’t pushed in firmly until the retention clips snap into place.
- Not using recommended RAM slots – Motherboards have specific installation patterns for optimal performance. For example, on a four-slot board with two RAM sticks, you might need to use slots A2 and B2 rather than A1 and A2. Using the wrong configuration can prevent proper memory detection.
2. Incompatible or Faulty RAM
Even properly installed RAM can cause problems if it’s not compatible or functioning correctly:
- RAM not supported by motherboard – Each motherboard supports specific memory types, speeds, and capacities. Using DDR4 RAM in a DDR5 board, or memory that exceeds supported speeds, will trigger errors.
- Defective RAM modules – Manufacturing flaws, static damage, or age-related deterioration can render memory modules non-functional. This includes bad memory cells, damaged circuits, or corrupted SPD data.
3. Motherboard or CPU Issues
Sometimes the problem lies with the components that interface with your RAM:
- Damaged DIMM slots – Broken pins or damaged contacts within memory slots prevent proper RAM detection. This can result from excessive force during installation or removal.
- CPU pin alignment or bent pins – Since the memory controller resides in modern CPUs, damaged processor pins can affect memory communication. Even one bent pin can disrupt memory channels.
4. BIOS/UEFI Problems
Software-level issues can also trigger DRAM light warnings:
- Outdated BIOS version – Older BIOS versions might lack support for newer RAM types or capacities, leading to detection failures.
- Memory settings causing conflicts – Incorrect memory timing, voltage settings, or XMP/DOCP profiles can create stability issues that prevent successful memory initialization.
Each of these issues has specific solutions, which we’ll examine in the following sections.
How to Fix the DRAM Light Issue?
When facing a DRAM light warning, following a systematic approach helps identify and resolve the issue efficiently. Here’s a step-by-step guide to troubleshooting memory problems.
Step 1: Power Cycle and Reseat RAM

This simple fix resolves many DRAM light issues:
- Shut down the system and unplug the power. Turn off your computer completely and disconnect the power cable. Hold the power button for 10 seconds to discharge residual electricity.
- Reinstall RAM firmly in correct slots – Remove your RAM modules, check the slots for dust or debris, and reinstall them. Push down on both ends of each stick until you hear the retention clips click into place. Confirm you’re using the correct slots according to your motherboard manual (usually A2 and B2 for two sticks).
Step 2: Test RAM Modules Individually
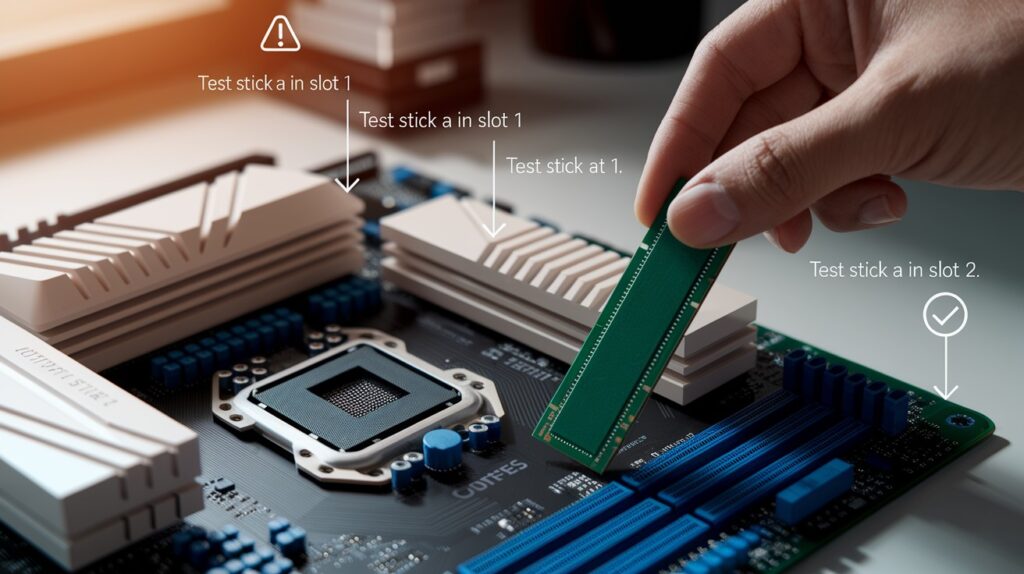
If reseating doesn’t work, identify problematic components:
- Boot with one stick at a time – Remove all but one RAM stick and try booting. If successful, shut down and try a different stick in the same slot. This process helps determine if the issue is with a specific RAM module.
- Identify faulty RAM or slot – If one RAM stick works in a slot but another doesn’t, the second stick may be faulty. If a stick works in one slot but not another, the slot itself might be damaged.
Step 3: Check CPU and Motherboard
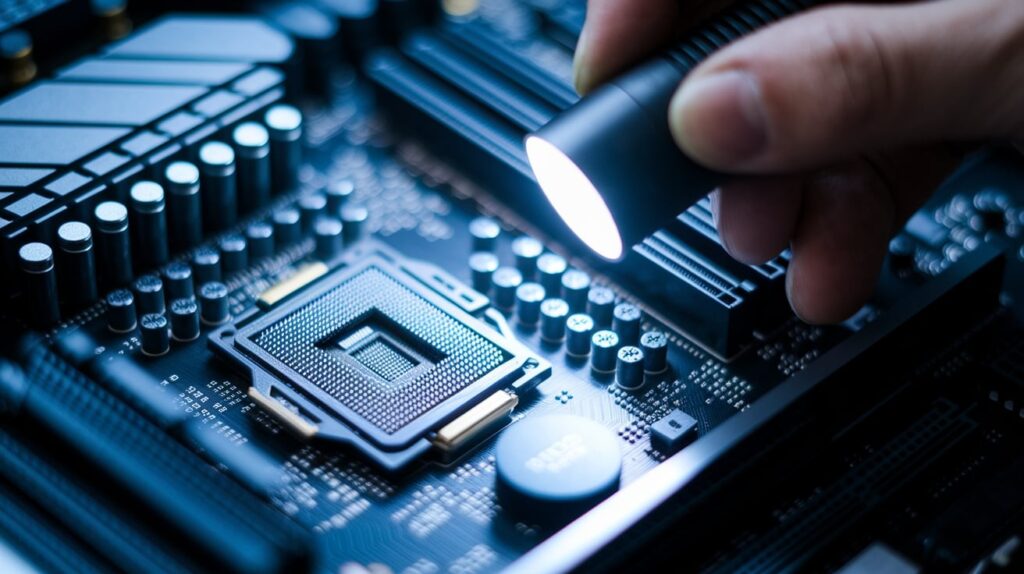
For persistent issues, examine other components:
- Inspect the CPU socket for bent pins – Remove the CPU cooler and processor carefully. Examine the CPU socket (Intel) or pins (AMD) under good lighting, looking for any bent or damaged pins. Even slightly misaligned pins can affect memory channels.
- Try resetting the CMOS battery or jumper – Clear the BIOS settings by removing the circular CMOS battery for 5 minutes or using the clear CMOS jumper on your motherboard (refer to your manual for the exact location). This resets all BIOS settings to factory defaults, which can resolve memory configuration issues.
Step 4: Update BIOS
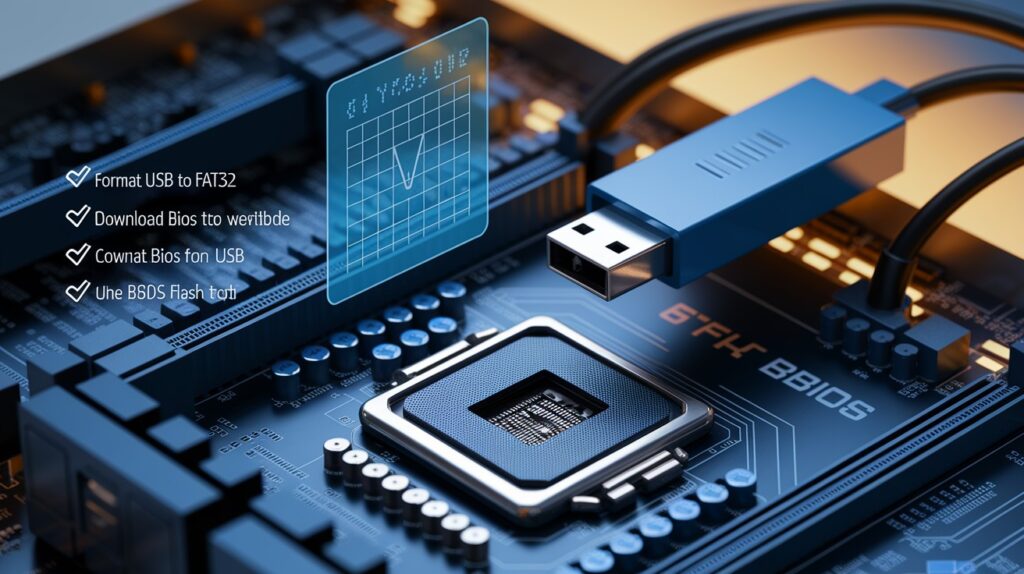
If hardware checks don’t resolve the issue:
- How to check your BIOS version – If you can boot into BIOS, look for version information on the main screen. If booting isn’t possible, check your motherboard model and current BIOS version on the manufacturer’s website.
- Safe update steps with USB flash drive – Download the latest BIOS file from your motherboard manufacturer’s website. Format a USB drive to FAT32, copy the BIOS file to it, and use the BIOS flash function (Q-Flash for Gigabyte, EZ Flash for ASUS, M-Flash for MSI). Some motherboards have BIOS flashback features that work even without a functioning CPU or RAM.
These steps address most DRAM light issues, from simple seating problems to more complex compatibility concerns. If problems persist after trying all these methods, you may need to consider replacement parts or professional assistance.
Preventing Future DRAM Light Errors
Avoiding DRAM light issues is much easier than fixing them. With some planning and regular maintenance, you can significantly reduce the risk of memory-related problems in your system.
1. Use Compatible Components
Compatibility is crucial for stable system performance:
- Check motherboard QVL (Qualified Vendor List) – Before purchasing RAM, consult your motherboard’s QVL on the manufacturer’s website. This list contains memory modules specifically tested and verified to work with your motherboard model. While non-listed RAM may function, QVL-approved modules offer the highest likelihood of compatibility.
- Match RAM speeds and voltages – Even when using compatible memory, ensure your RAM’s speed rating (MHz) and voltage requirements align with what your motherboard supports. Using RAM at speeds higher than your motherboard or CPU can handle may cause stability issues. When mixing different RAM kits, all modules will run at the speed of the slowest stick.
2. Handle Hardware Carefully
Proper component handling prevents physical damage:
- Avoid static damage during installation – Always ground yourself before touching computer components. Work on non-conductive surfaces and consider using an anti-static wrist strap. Avoid touching the gold contacts on RAM modules, as skin oils and static electricity can damage these sensitive parts.
- Ensure secure and correct connections – When installing RAM, apply even pressure until the retention clips snap into place. Loose connections are a common cause of intermittent memory issues. Also, follow the correct slot population order specified in your motherboard manual.
3. Regular Maintenance
Ongoing care keeps your system running smoothly:
- Dust and debris cleaning – Over time, dust buildup in DIMM slots can create connection problems. Clean your case interior regularly using compressed air. When cleaning, power off and unplug your system, and use gentle bursts of air to avoid damaging components.
- BIOS updates and firmware checks – Manufacturers release BIOS updates that often improve memory compatibility and stability. Check for updates every few months, but follow the “if it’s not broken, don’t fix it” principle; only update when necessary or when the update specifically addresses issues you’re experiencing.
By following these preventative measures, you’ll minimize the chances of seeing that DRAM light illuminate and enjoy a more stable computing experience.
Taking time to select compatible components and maintain them properly saves significant troubleshooting time down the road.
Conclusion
Not all memory issues can be fixed at home. If you’ve tried all the steps above and still face problems, it’s time to consider professional assistance.
Computer repair specialists have specialized tools and experience to diagnose complex issues that might be causing your DRAM light to stay on. They can test components individually and identify problems beyond basic troubleshooting.
The DRAM light serves as your motherboard’s early warning system, alerting you to memory issues before they cause data loss or system failure.
By understanding what this indicator means and following the troubleshooting steps outlined in this guide, you can resolve most memory problems quickly.
Remember that proper component selection, careful handling, and regular maintenance are your best defenses against future DRAM light warnings.
Frequently Asked Questions
Is it normal for the DRAM light to flash briefly during startup?
Yes. A momentary DRAM light during POST is normal as your system checks memory before continuing the boot process.
Can RAM work fine in one computer but cause DRAM light errors in another?
Absolutely. Memory compatibility varies between motherboards. RAM that works in one system might not be compatible with another.
Will adding more RAM fix my DRAM light problem?
No. Adding more RAM won’t fix existing memory issues. First resolve the current problem before installing additional memory modules.