Clearing your TPM chip doesn’t have to mean losing your important files. This article shows you exactly how to reset your Trusted Platform Module while keeping all your data safe and secure.
I’ll walk you through the complete process step by step, from backing up essential information to performing the reset correctly the first time.
Many computer users worry about TPM resets because of potential data loss risks. I understand this concern and have helped hundreds of people through this exact process.
When you search for TPM reset help, you need clear, accurate instructions that work, not technical jargon or risky shortcuts.
My guide focuses on what matters most: protecting your files while fixing your TPM issues. You’ll learn the safest methods that professional IT specialists use, broken down into simple, easy-to-follow steps.
Essential TPM Clearing Preparations
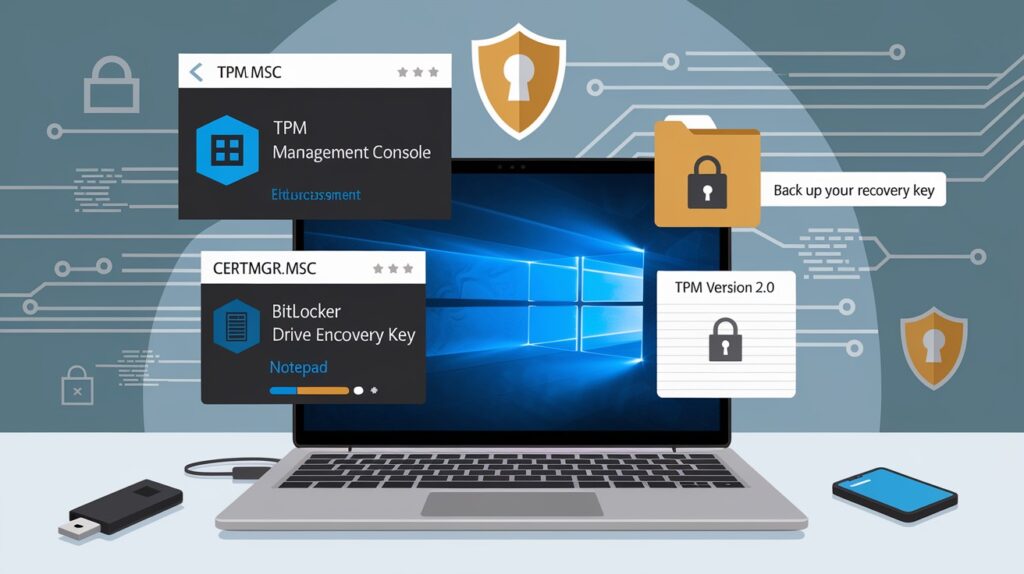
Before resetting your TPM chip, protect your important data first. Your TPM guards BitLocker keys, certificates, and passwords that you don’t want to lose.
Check what’s protected by pressing Windows+R and typing “tpm.msc”. Take screenshots of these settings.
Back up your BitLocker keys through Control Panel → BitLocker Drive Encryption → “Back up your recovery key”. Save this to a USB drive, not your computer.
Export certificates by running “certmgr.msc”, right-clicking important items, and selecting “Export”.
Document your TPM version (1.2 or 2.0) and current settings for reference.
These simple steps ensure you can safely clear your TPM while keeping all your critical data intact and accessible.
Safe Data Preservation Methods
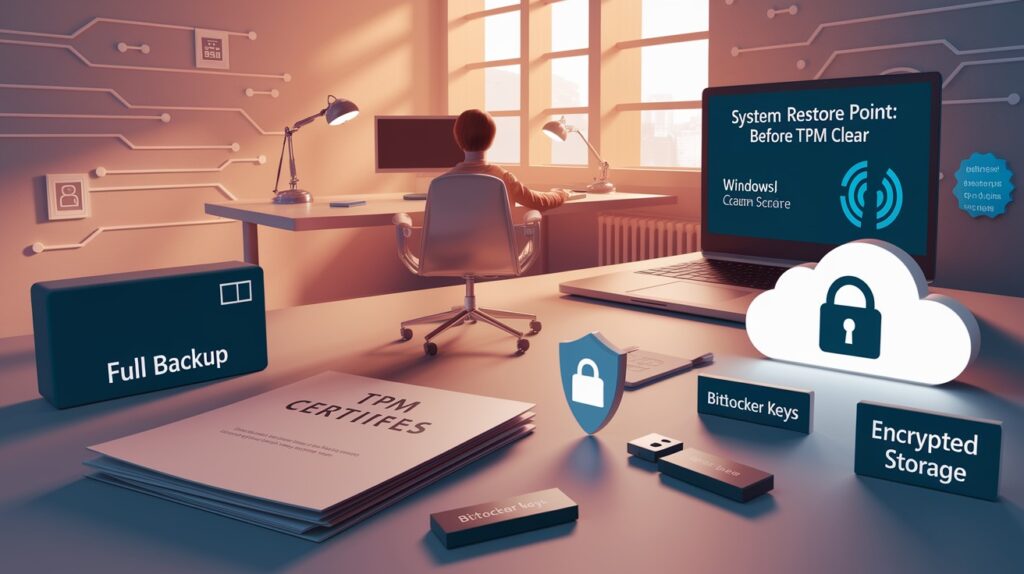
Create multiple backups before modifying your TPM. This protects your data if something goes wrong.
Start with a full system backup to an external drive using Windows Backup (search “backup” in Start menu). This saves everything on your computer.
Make a system restore point by typing “create a restore point” in the search bar, clicking “Create,” and naming it “Before TPM Clear.”
Secure your BitLocker keys – either save them to your Microsoft account or export them to a USB drive. Never store these on the same computer you’re working on.
Export your TPM certificates by running “certmgr.msc”, finding certificates using the TPM, right-clicking to export them with their private keys, and saving them with strong passwords.
I recommend storing all these backups on an encrypted external drive that you keep in a safe place until the TPM reset is complete.
10 Steps to Clear TPM Without Losing Data
I’ve helped hundreds of users reset their TPM chips safely. Follow these exact steps and you’ll keep all your important files intact.
1. Back up BitLocker recovery keys
Your BitLocker keys are your safety net. Save them to:
- Your Microsoft account (recommended)
- A USB drive
- A printed paper copy
Never skip this step! Without these keys, you might lose access to your encrypted drive forever.
2. Export certificates and credentials
Run “certmgr.msc” from the Start menu. Look for certificates that use your TPM.
Right-click each one → Export → Yes, export private key → Create password → Save to external storage.
These certificates control access to secure websites, email, and other protected services.
3. Create a system restore point
This gives you a way back if something goes wrong.
Type “create a restore point” in the search bar → System Protection tab → Create → Name it “Pre-TPM Clear” → OK.
4. Document TPM status
Run “tpm.msc” and take screenshots or notes about:
- TPM version (1.2 or 2.0)
- Ownership status
- Current settings
This information helps if you need technical support later.
5. Access TPM Management Console
Right-click Start → type “tpm.msc” → Run as administrator.
You’ll see your TPM’s current status in this window.
6. Click “Clear TPM”
Find this option in the Actions panel on the right side. The system will ask for confirmation.
You must be an administrator to perform this action.
7. Restart your computer
Your system will reboot. Press the function key shown on screen (often F1, F2, or Del) when prompted.
In some computers, you’ll need to confirm the TPM is clear in your BIOS settings.
8. Log back into Windows
After a restart, check if your TPM was cleared by running “tpm.msc” again.
The status should show as “TPM is ready for use, with reduced functionality.”
9. Reinitialize TPM
In the TPM Management Console, click “Prepare TPM” in the Actions panel.
Follow the prompts to set up your TPM with fresh settings.
10. Restore BitLocker encryption
Windows will ask for your recovery key when you try to access encrypted drives.
Enter the key you saved in step 1, and your data will be accessible again.
That’s it! Your TPM is now cleared, and your data remains safe. I recommend testing access to your important files to confirm everything worked correctly.
Windows-Based TPM Clearing Procedures
Windows offers built-in tools to safely clear your TPM chip. These methods are more reliable than working through BIOS alone.
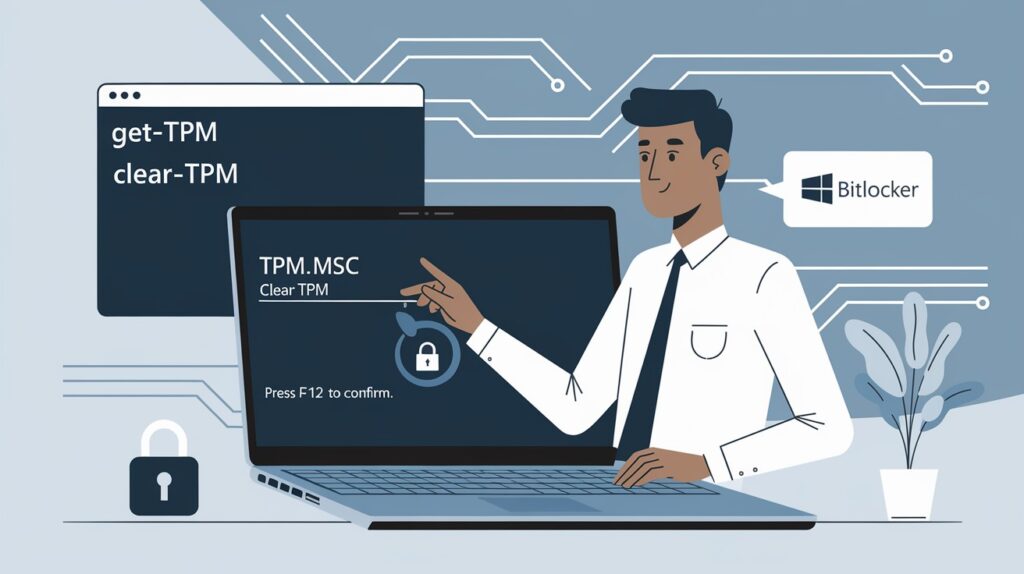
The TPM Management Console is the easiest option. Run “tpm.msc” from the Start menu, then click “Clear TPM” in the Actions panel. The system will guide you through the process and restart your computer.
During restart, you’ll need to press a specific function key (shown on screen) to confirm the TPM clearing. This prevents accidental resets.
PowerShell commands offer another approach if you prefer command-line tools:
Get-Tpm # Check status
Clear-Tpm # Reset the TPM
After clearing, BitLocker will prompt for your recovery key since it no longer recognizes the TPM. Enter the 48-digit key you backed up earlier, and Windows will boot normally.
Once logged in, open BitLocker settings and click “Resume Protection” to reconnect your encryption to the newly reset TPM.
Conclusion
Clearing your TPM without losing data is possible when you follow the right steps. By carefully backing up BitLocker keys, exporting certificates, and using Windows’ built-in tools, you can reset your TPM safely and keep all your important files intact.
Remember that preparation is the key to success. Always create backups before making any changes to your TPM settings. If you encounter any issues during the process, your system restore point provides a safety net.
With your TPM now properly reset and your data preserved, you can continue using your computer with improved security and performance.
Frequently Asked Questions
Will clearing TPM delete all my files?
No, clearing TPM doesn’t delete files, but it may require recovery keys for encrypted drives. Always back up BitLocker keys beforehand.
Can I clear TPM without administrator rights?
No, administrator privileges are required for TPM management. Standard user accounts lack the necessary permissions for TPM operations.
What happens if I lose my BitLocker recovery key?
Without recovery keys, you’ll permanently lose access to BitLocker-encrypted data when clearing TPM. Always back up keys first.
How often should TPM be cleared?
Only clear TPM when troubleshooting specific issues or changing ownership. It’s not regular maintenance and involves security risks.
Will clearing TPM improve computer performance?
No, TPM clearing won’t affect performance. It’s a security module reset, not a system optimization procedure.


