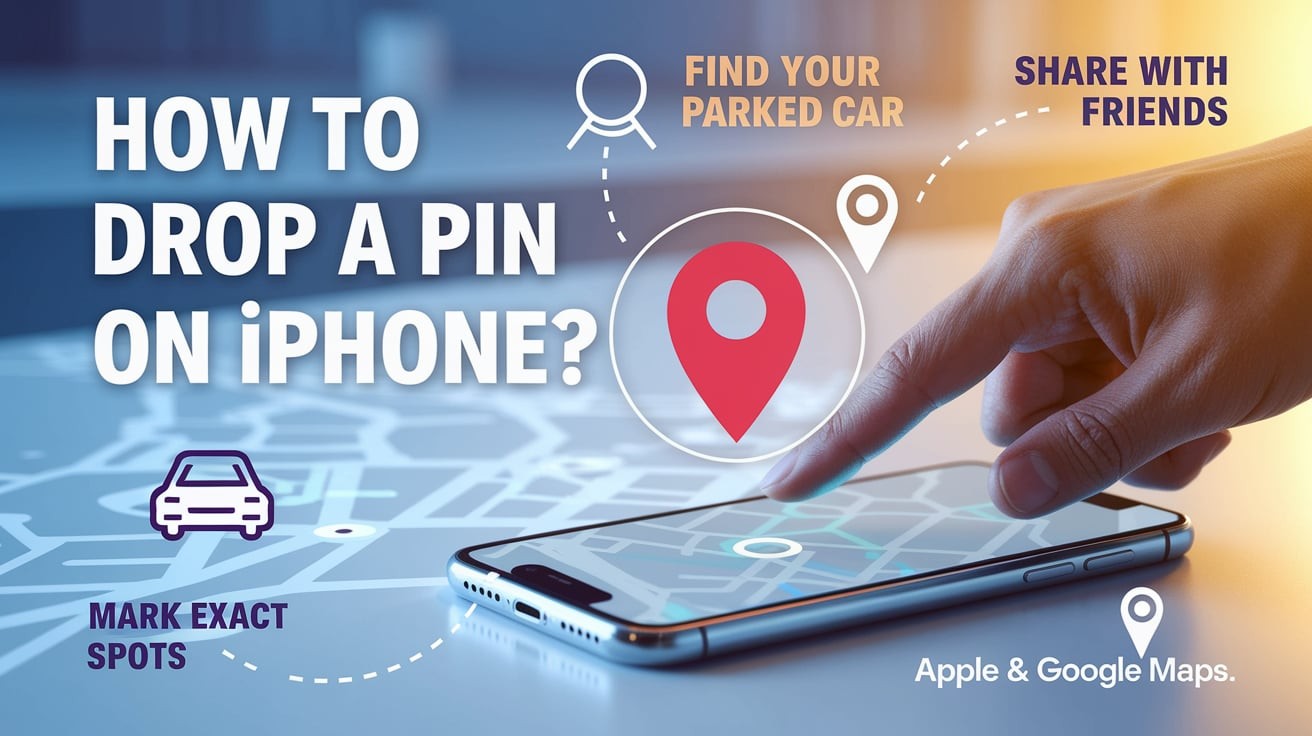
Need to mark a specific spot on your map?
Dropping a pin on your iPhone is one of those small but mighty features that make life easier.
From finding your parked car to sharing a meeting point with friends, this tool helps you mark exact locations when an address just won’t do.
Many iPhone users don’t know how simple this process is, or all the ways it can be useful in daily life. The good news? You can learn it in seconds.
In this guide, we’ll walk through the exact steps to drop pins in both Apple Maps and Google Maps, plus show you how to make the most of this handy feature.
What Does Dropping a Pin Mean on iPhone?
Dropping a pin on your iPhone is simply the act of marking a specific location on a digital map.
It’s a way to identify an exact spot, even when there’s no formal address or when you need to mark a location with greater precision than an address provides.
When you drop a pin, you’re essentially telling your phone, “This exact spot is important to me.” Your iPhone then creates a virtual marker at those specific GPS coordinates.
1. Purpose of Pinning a Location
The main purpose is precision. Addresses can be vague or nonexistent for many places you might want to remember or share.
A dropped pin gives you exact coordinates that your iPhone can use for various functions.
2. Common Use Cases for Dropped Pins
- Marking meeting points: “Meet me at the north entrance of the park” becomes crystal clear with a pin
- Finding your car: Drop a pin where you parked to find it later
- Saving spots without addresses: Hiking trails, scenic views, or that perfect picnic spot in the park
- Getting directions: Navigate to locations that don’t have formal addresses
- Sharing exact locations: Send precise coordinates to friends or family
- Remembering places to visit: Mark spots you want to return to later
- Business purposes: Mark client locations, delivery spots, or meeting points
Pins work as digital bookmarks on your map, making location-based tasks much more accurate and straightforward.
Common Issues and How to Fix Them

- Force close and restart the Maps app. If pins won’t drop or the app freezes, completely close Maps by swiping up from the bottom edge and flicking the app away. This clears temporary errors in the app’s memory.
After waiting a few seconds, reopen Maps and try again-this simple reset fixes most response issues.
- Check for pending app updates. Outdated map applications often develop glitches with pin functionality.
Visit the App Store and check the Updates section for available Maps updates. Installing the latest version can resolve compatibility issues and improve overall performance, especially after iOS system updates.
- Verify location services settings. Go to Settings > Privacy > Location Services and confirm Maps has “While Using” or “Always” permission. If location services are disabled or restricted, pins may not drop correctly. Also, check that “Precise Location” is toggled on for the most accurate positioning capability.
- Switch to satellite view for better placement accuracy. Standard map view can sometimes lack the visual references needed for precise pin placement.
Tap the “i” information button and select Satellite view to see actual photos of the area. This makes it easier to identify specific buildings, paths, or landmarks for more accurate pinning.
- Reset network settings as a last resort. Persistent location issues may stem from corrupted network data. Go to Settings > General > Reset > Reset Network Settings (note this will remove saved WiFi passwords). After your phone restarts, location services often work with improved accuracy, fixing stubborn pin-dropping problems.
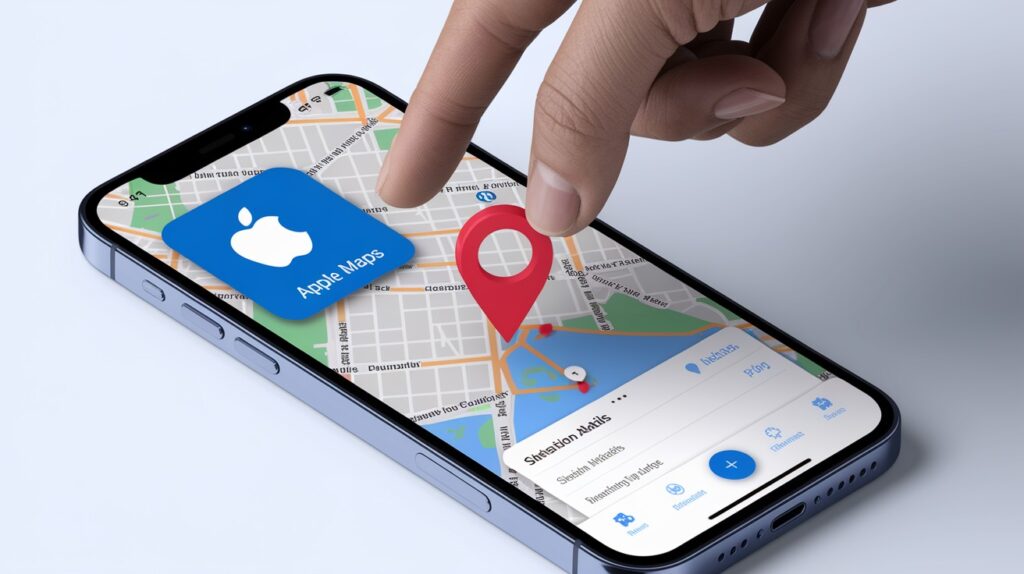
How to Drop a Pin Using Apple Maps?
Step-by-Step Instructions
- Open Apple Maps
- Find and tap the Maps app on your iPhone (it’s light blue with a road map icon)
- Wait for the app to load your current location
- Locate the Area
- Scroll around the map by dragging your finger
- Zoom in or out using the pinch gesture for better precision
- Use the search bar at the bottom to find a general area if needed
- Tap and Hold to Drop a Pin
- Press your finger on the exact spot you want to mark
- Hold for about a second until you see a red pin appear
- The map will center on this new pin
Accessing More Options After Dropping a Pin
- Viewing Address Details
- Once the pin is placed, a small information card appears at the bottom
- This shows the nearest street address or location name
- Swipe up on this card to see more details, including coordinates
- You’ll also see the estimated travel time from your current location
- Saving the Location
- Swipe up on the information card completely
- Tap “Add to Favorites” to save it to your Favorites list
- Or tap “Add to…” to create a new list or add to an existing collection
- You can also select “Mark My Location” if it’s where you are right now
- Sharing the Pinned Spot
- In the expanded information card, tap the “Share” button
- Choose how you want to share: Messages, Mail, AirDrop, etc.
- The recipient will receive a link that opens directly to that PIN
- You can also copy the link or coordinates to paste elsewhere
The pin will remain on your map until you remove it or close the app. For permanent storage, make sure to save it to Favorites or a custom list.
Tips for Using Dropped Pins Effectively
- Be specific with your pin placement. When marking a location, zoom in as much as possible before placing your pin. This ensures you’re marking the exact spot, not just the general area. For large venues like parks or campuses, add a note specifying “north entrance” or “back parking lot” to avoid confusion.
- Include context when sharing locations. Don’t just send a pin-add a brief message explaining why you’re sharing it (“Our meeting spot” or “Great coffee shop”). This provides immediate clarity for recipients and helps them recognize the PIN’s importance when they receive it.
- Create logical collections for saved pins. Group similar locations into themed collections like “Food spots,” “Future hikes,” or “Shopping.” This organization system makes it much easier to find saved pins later and helps you build useful personal guides to different areas.
- Use clear, searchable names for saved locations. Rename pins with descriptive titles instead of keeping the default address. “Mountain viewpoint” or “Sarah’s apartment” are much more useful than “Unmarked location” or a street address when scanning through your saved places.
- Set pin alerts for location-based reminders. Connect your pins with the Reminders app to create location-based alerts. This transforms static pins into active tools-your phone can notify you to “Buy milk” when near your pinned grocery store or “Return book” when approaching your pinned library.
Conclusion
So there you have it, dropping pins on your iPhone is pretty simple once you know how.
This small feature packs a big punch for everyday life, from finding your way back to that amazing food truck to making sure friends can locate you in a crowded park.
Remember that practice makes perfect. The more you use pins, the more naturally they’ll fit into your daily routine.
And when you run into trouble, those troubleshooting tips will get you back on track quickly.
The best part? You can start using this skill right away. Next time you’re somewhere worth remembering or sharing, try dropping a pin.
You might be surprised how often this little digital marker comes in handy!
Frequently Asked Questions
Can I drop pins offline without an internet connection?
Yes, you can drop pins offline, but some features, like exact addresses, may not work until reconnected.
How many pins can I save on my iPhone?
There’s no practical limit to saved pins, though organizing them into labeled collections improves manageability.
Can I change a pin’s location after dropping it?
You can’t move existing pins; instead, delete the current pin and create a new one in the correct spot.


