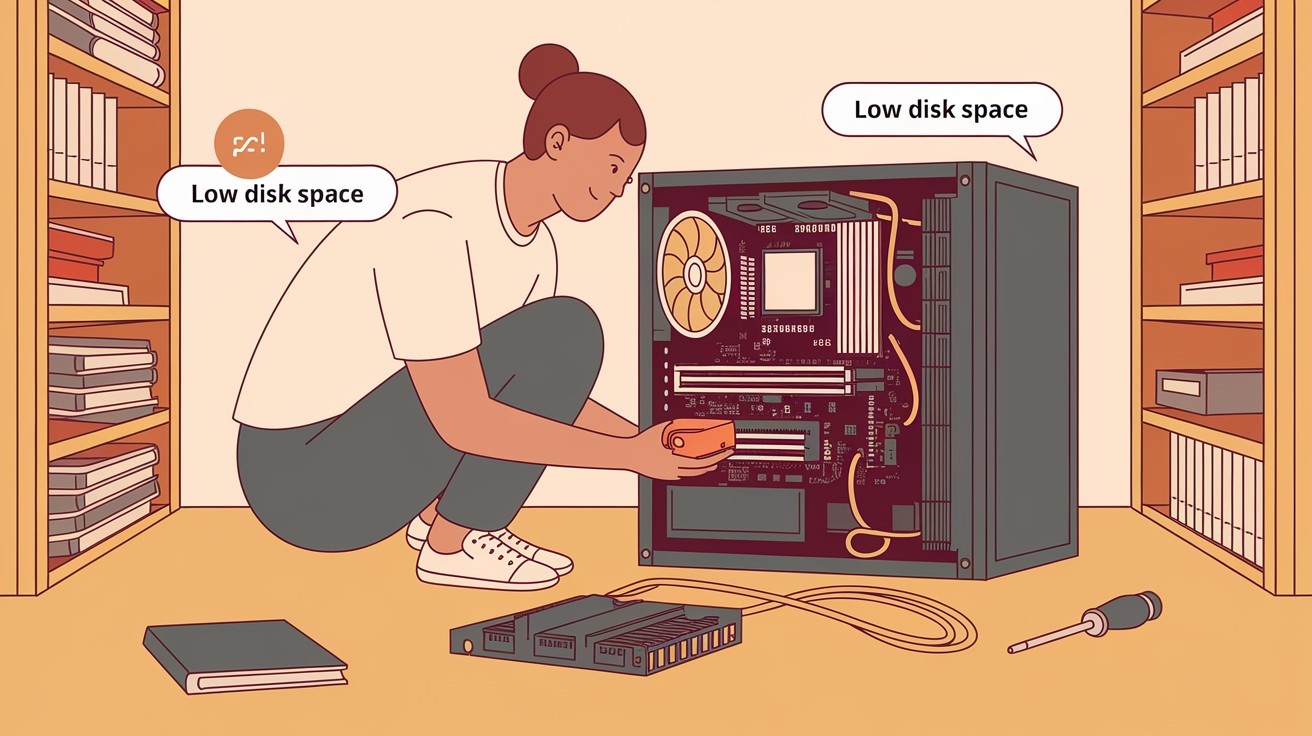
Is your PC constantly telling you it’s running out of space?
That annoying notification isn’t just a minor inconvenience, it’s your computer’s way of crying for help. When storage gets tight, everything slows down: boot times drag, applications freeze, and even saving a simple document becomes a waiting game.
But here’s the thing: you don’t have to live with a cramped, sluggish computer.
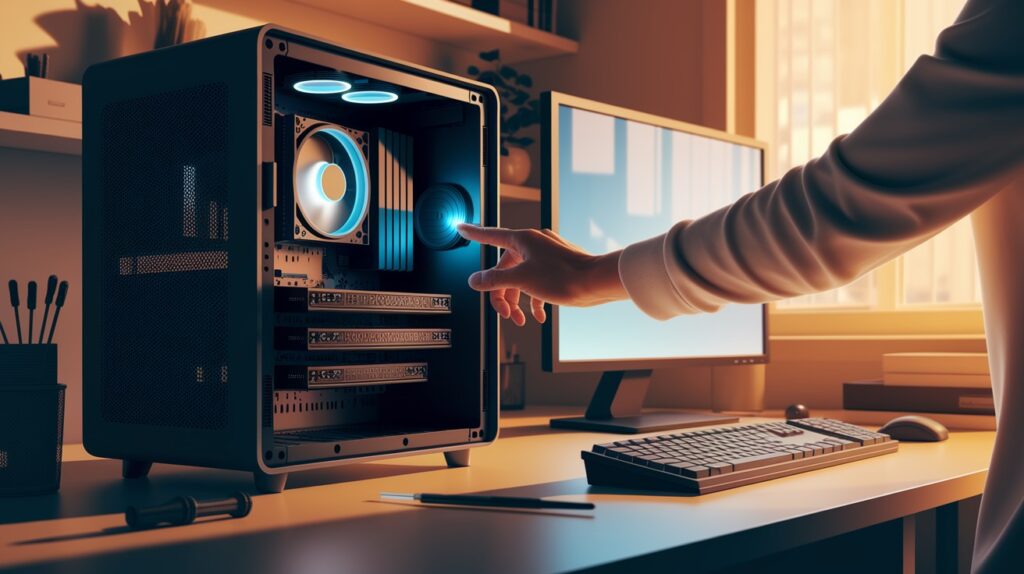
Installing additional storage is one of the most effective upgrades you can make, and it’s more straightforward than most people realize.
Think of your PC as a closet. When it’s packed to the brim, finding anything becomes impossible, and adding new items is out of the question.
But expand that space, and suddenly everything flows smoothly again.
Ready to give your computer room to breathe? We’ll show you exactly how to add more storage, step by step.
Understanding Your PC’s Storage Options
1. Internal Storage (SATA, NVMe)
Internal storage connects directly inside your PC through two main interfaces. SATA drives are the traditional option, offering reliable performance at affordable prices with speeds up to 600 MB/s.
NVMe drives represent the modern standard, connecting through M.2 slots and delivering blazing speeds up to 7,000 MB/s.
NVMe is perfect for your operating system and frequently used programs, while SATA works great for general file storage and budget-conscious upgrades.
2. External Storage (USB Drives, External SSDs/HDDs)
External storage offers flexibility and portability without opening your PC case. USB flash drives provide convenient storage for small files and document transfers.
External hard drives give you massive capacity at a low cost, perfect for backing up entire systems or storing media collections.
External SSDs combine portability with speed, making them ideal for professionals who need fast access to large files across multiple computers.
All external options simply plug into USB ports and work immediately.
3. Cloud Storage vs Physical Storage
|
Aspect |
Cloud Storage |
Physical Storage |
|
Accessibility |
Access from anywhere with the internet |
Local access only |
|
Initial Cost |
Monthly/yearly subscription fees |
One-time purchase |
|
Long-term Cost |
Ongoing payments required |
No recurring fees |
|
Speed |
Depends on the internet connection |
Full drive speed available |
|
Security |
The provider handles security |
You control security |
|
Capacity Limits |
Easy to expand (pay more) |
Fixed until hardware upgrade |
|
Offline Access |
Limited or none |
Always available |
|
Setup Time |
Instant account creation |
Physical installation required |
Why You Might Need More Storage on Your PC?
1. Warning signs are everywhere when your PC starts running low on space.
Your computer takes ages to boot up, programs crash unexpectedly, and you can’t install new software or save important files.
You might notice frequent freezing, slower file transfers, or that frustrating “disk cleanup” pop-up appearing constantly.
2. Adding extra storage transforms your computing experience completely.
Your system will boot faster, run smoother, and handle multiple programs without breaking a sweat.
You’ll have room for all your photos, videos, games, and work files without constantly deleting things.
Plus, your PC will last longer since it won’t be struggling with overcrowded storage. Most importantly, you’ll eliminate the stress of always monitoring available space and can focus on actually using your computer productively.
3. SSD vs HDD – What’s the Right Choice for You?
|
Feature |
SSD |
HDD |
|
Speed |
Very fast (500-7000 MB/s) |
Moderate (80-160 MB/s) |
|
Price |
Higher cost per GB |
Lower cost per GB |
|
Durability |
No moving parts, shock resistant |
Moving parts, more fragile |
|
Noise |
Silent operation |
Audible spinning/clicking |
|
Power Usage |
Low energy consumption |
Higher power draw |
|
Lifespan |
5-10 years typical |
3-5 years typical |
|
Best For |
OS, programs, and gaming |
Mass storage, backups |
How to Install an Internal Storage Drive?
Step 1: Power Down and Open the PC Case
Start by completely shutting down your computer and unplugging the power cable from the wall.
Press and hold the power button for 10 seconds to discharge any remaining electricity. Remove the side panel of your case (usually the left side when facing the front) by unscrewing the thumbscrews or sliding latches.
Ground yourself by touching a metal part of the case to prevent static electricity from damaging components.
Step 2: Locate the Drive Bays and Connectors
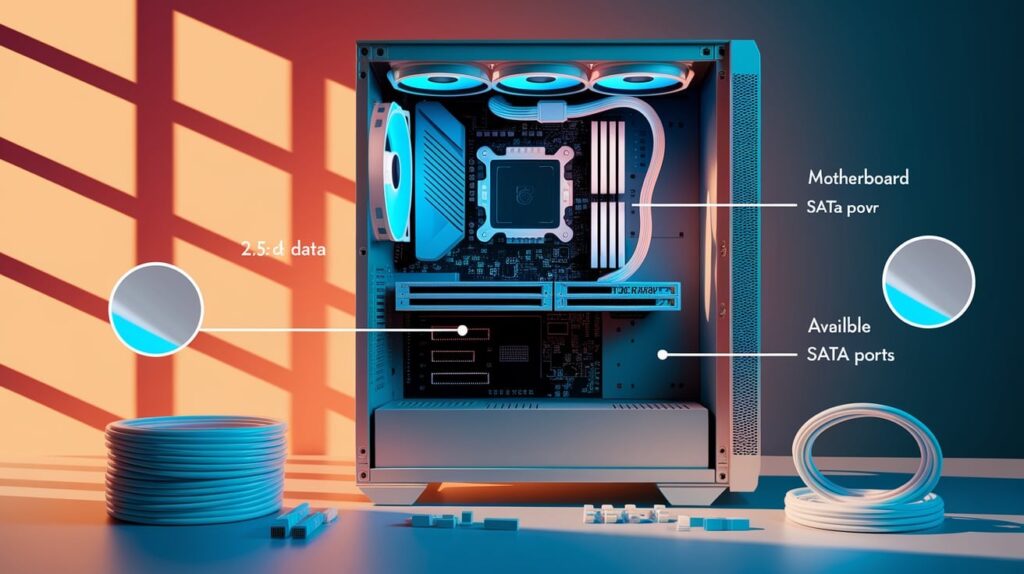
Look for empty drive bays inside your case, metal slots designed to hold storage drives.
3.5-inch bays are for traditional hard drives, while 2.5-inch bays accommodate SSDs. Find the SATA data cables (thin, flat cables) and locate available SATA power connectors from your power supply (wider, flat connectors with multiple colored wires).
Make note of available SATA ports on your motherboard.
Step 3: Mount the New Drive (SSD/HDD)
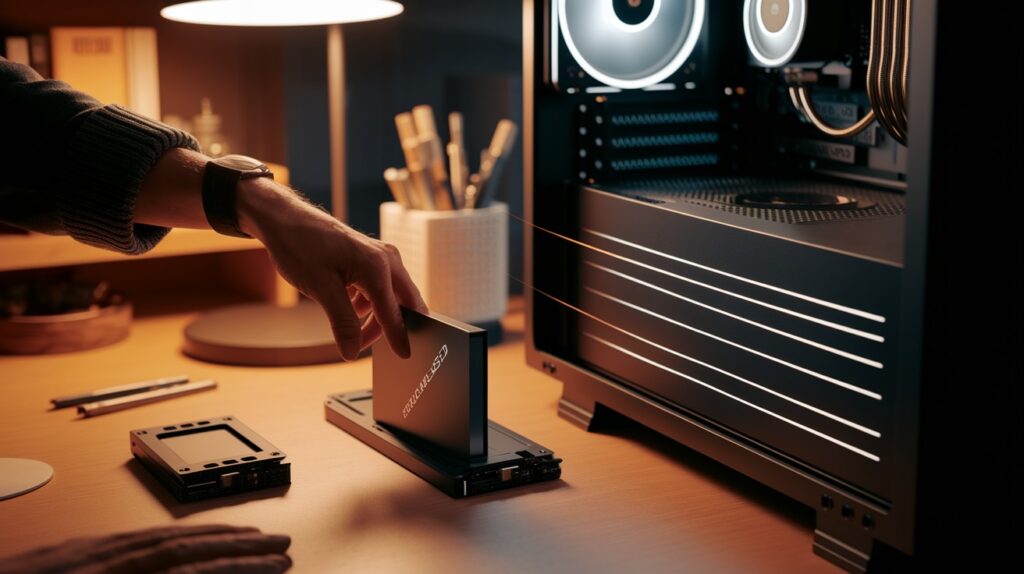
Slide your new drive into an appropriate bay, ensuring the connector ports face toward the interior of the case.
For HDDs, use the 3.5-inch bay and secure with four screws through the sides. For SSDs, mount in a 2.5-inch bay or use an adapter bracket for 3.5-inch bays.
Make sure the drive sits flush and doesn’t move when gently shaken.
Step 4: Connect Power and Data Cables
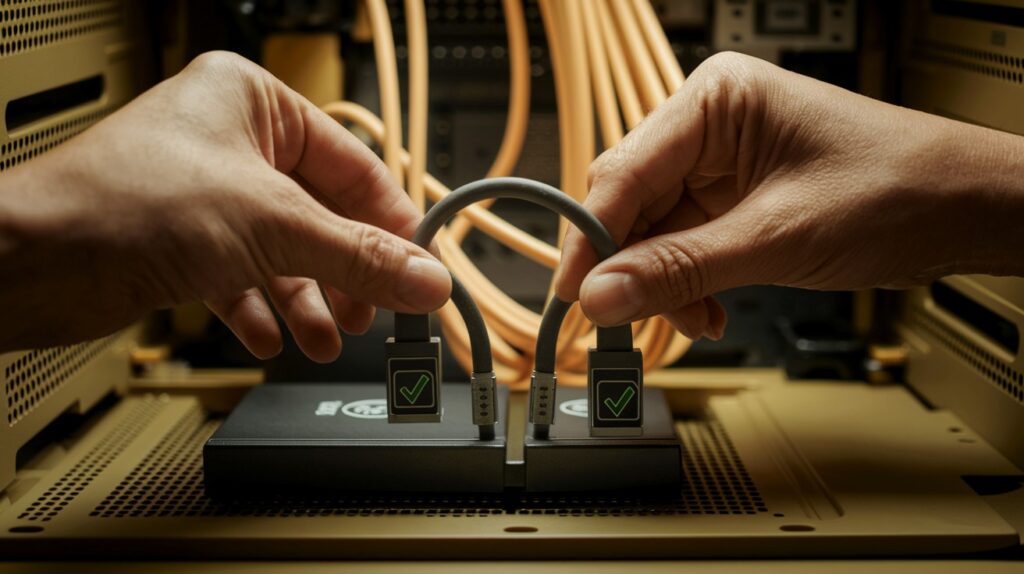
Connect a SATA power cable from your power supply to the wider connector on your drive.
Attach a SATA data cable between the drive and an available SATA port on your motherboard. Ensure both connections click securely into place and cables aren’t stretched or bent sharply. Route cables neatly to avoid blocking fans or other components.
Step 5: Boot Up and Initialize the Drive in BIOS/Windows
Replace your case panel and reconnect all cables before powering on your PC. Enter BIOS/UEFI during startup (usually by pressing Delete or F2) to verify the new drive appears in storage settings.
Boot into Windows and open Disk Management to initialize the new drive, create partitions, and assign a drive letter. Format the drive with the NTFS file system to make it ready for use.
Troubleshooting Common Installation Issues
- Check Physical Connections – Ensure both SATA power and data cables are firmly connected to the drive and motherboard.
Loose connections are the most common cause of detection failures, so unplug and reconnect all cables with a firm click.
- Verify Power Supply Capacity – Your PSU might not have enough wattage to support additional drives, especially if you’ve added multiple components recently.
Try disconnecting non-essential devices temporarily to test if a power shortage is the issue.
- Test with Different Cables and Ports – Swap SATA cables with working drives or try different SATA ports on your motherboard.
Faulty cables or dead motherboard ports can prevent drive detection even when everything appears properly connected.
Conclusion
Ready to give your PC the storage boost it deserves?
Installing additional storage isn’t just about having more space, it’s about transforming your entire computing experience.
You’ve now got all the knowledge needed to choose the right drive, install it properly, and troubleshoot any issues that might come up.
Remember, this upgrade pays dividends immediately. Your computer will run faster, boot quicker, and handle everything you throw at it without those annoying slowdowns.
Plus, you’ll finally have room for all those photos, videos, and programs you’ve been putting off installing.
Don’t let storage limitations hold you back any longer. With these step-by-step instructions in hand, you’re just a few screws and cables away from a significantly improved PC.
Your future self will thank you for making this smart investment today.
Frequently Asked Questions
How do I increase my storage space?
Install internal SSD/HDD, add external drives, use cloud storage, or upgrade existing drives with higher capacity options for more space.
How to install a storage device on a PC?
Power down PC, open case, mount drive in bay, connect SATA power and data cables, boot up, and initialize in Windows.
How to expand 64GB to 128GB?
Replace the existing 64GB drive with a 128GB drive, or add a second drive alongside the current one for a combined storage capacity increase.
How do I install a bigger SD card?
Power off the device, locate the SD card slot, remove the old card, and insert the new, larger SD card until it clicks securely into place.
How do I put a large SD card in my laptop?
Find the SD card slot on the laptop side, gently push in the new card until it clicks and sits flush with the laptop edge.