Apple Pay has transformed how we handle payments, making transactions faster and more secure than ever.
But before you can tap to pay at your favorite coffee shop or make online purchases with a simple touch, there’s one crucial step: verification.
Setting up Apple Pay isn’t just about adding your card to the Wallet app; proper verification ensures your payment method is secure and ready for use across all your Apple devices.
Many users find themselves stuck during this process, wondering why their card won’t verify or what steps they might have missed.
This comprehensive guide will walk you through exactly how to verify Apple Pay on your iPhone, Apple Watch, iPad, and Mac.
We’ll cover everything from initial setup requirements to troubleshooting common verification problems, ensuring you can confidently use Apple Pay for all your payment needs.
What Is Apple Pay and Why Does Verification Matter?
1. Overview of Apple Pay
Apple Pay is Apple’s digital wallet service that allows you to make secure payments using your iPhone, iPad, Apple Watch, or Mac.
Instead of carrying physical credit or debit cards, you can store your payment information digitally and complete transactions with a simple touch or glance.
2. Key features of Apple Pay include:
Contactless Payments: Tap your device at compatible payment terminals in stores, restaurants, and other retail locations.
The service uses Near Field Communication (NFC) technology to transmit payment data securely.
Online and In-App Purchases: Complete purchases within apps or on websites without entering your card details repeatedly. This streamlines the checkout process significantly.
Peer-to-Peer Transfers: Send money to friends and family through Messages using Apple Cash, making splitting bills or sharing expenses simple.
Enhanced Security: Your actual card numbers are never stored on your device or Apple’s servers. Instead, Apple Pay uses a unique Device Account Number and dynamic security codes for each transaction.
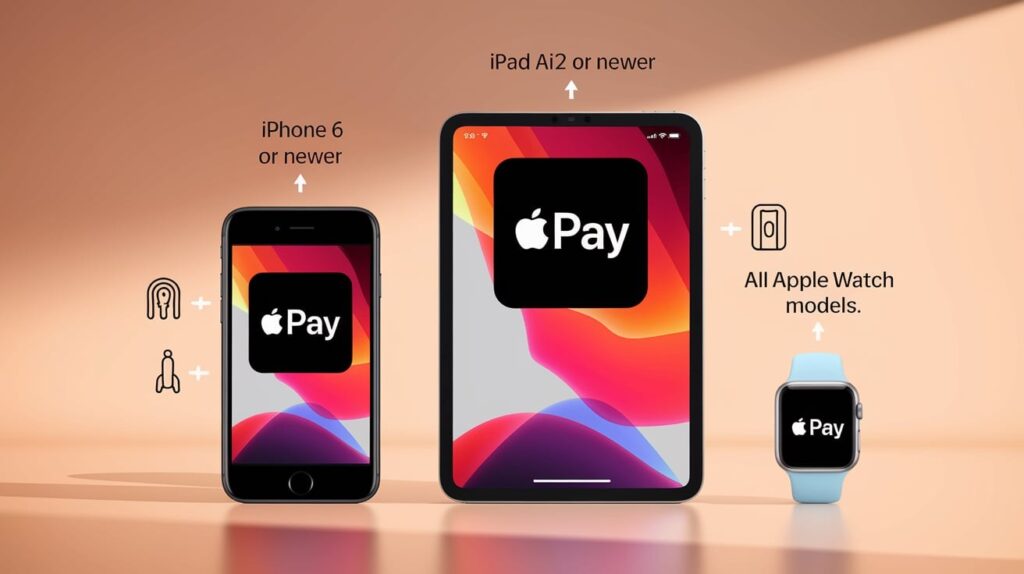
Apple Pay works across multiple Apple devices:
- iPhone: Models with Face ID or Touch ID (iPhone 6 and later)
- iPad: Models with Face ID or Touch ID
- Apple Watch: All models, when paired with a compatible iPhone
- Mac: Models with Touch ID or when used with an authenticated iPhone or Apple Watch
3. Importance of Verification
Verification serves as a critical security checkpoint that protects both you and your financial institution from fraudulent activity.
When you add a card to Apple Pay, your bank needs to confirm that you’re the legitimate cardholder before approving the payment method.
Enhanced Security and Fraud Protection: The verification process creates multiple layers of security. Your bank reviews the request, confirms your identity, and ensures the card hasn’t been reported lost or stolen.
This extra step significantly reduces the risk of unauthorized users adding your payment information to their devices.
Required for Certain Features and Transactions: Many advanced Apple Pay features require proper verification. Without completing this process, you may encounter limitations such as:
- Reduced transaction limits for contactless payments
- Inability to make online or in-app purchases
- Restricted access to Apple Cash features
- Problems with recurring subscription payments
Additionally, some merchants and financial institutions require full verification before accepting Apple Pay transactions, particularly for higher-value purchases.
Banks may also impose temporary spending limits on unverified cards as an additional security precaution.
The verification process typically takes just a few minutes but provides lasting benefits.
Once your card is verified, you can use Apple Pay with confidence, knowing that your payment method is secure and fully functional across all supported features and merchant locations.
Prerequisites for Verifying Apple Pay
1. Compatible Devices and iOS Version
Before attempting to verify Apple Pay, ensure your device meets the minimum requirements. Apple Pay functionality varies depending on your device model and operating system version.
iPhone Requirements: Apple Pay works on iPhone 6 and all newer models. Your device must run iOS 8.1 or later, though iOS 12 or newer is recommended for optimal performance and security features.
iPhones with Touch ID use fingerprint authentication, while newer models with Face ID use facial recognition for payment authorization.
iPad Requirements: Compatible iPads include iPad Air 2, iPad mini 3, and all subsequent models. Your iPad must run iOS 8.1 or later.
Note that iPad Apple Pay is limited to in-app and online purchases; you cannot use your iPad for contactless payments at physical retail locations since iPads lack NFC capability.
Apple Watch Requirements: All Apple Watch models support Apple Pay when paired with a compatible iPhone. Your watch must run watchOS 2.0 or later.
The Apple Watch requires its separate verification process, even if your paired iPhone already has verified cards.
2. Supported Banks and Regions
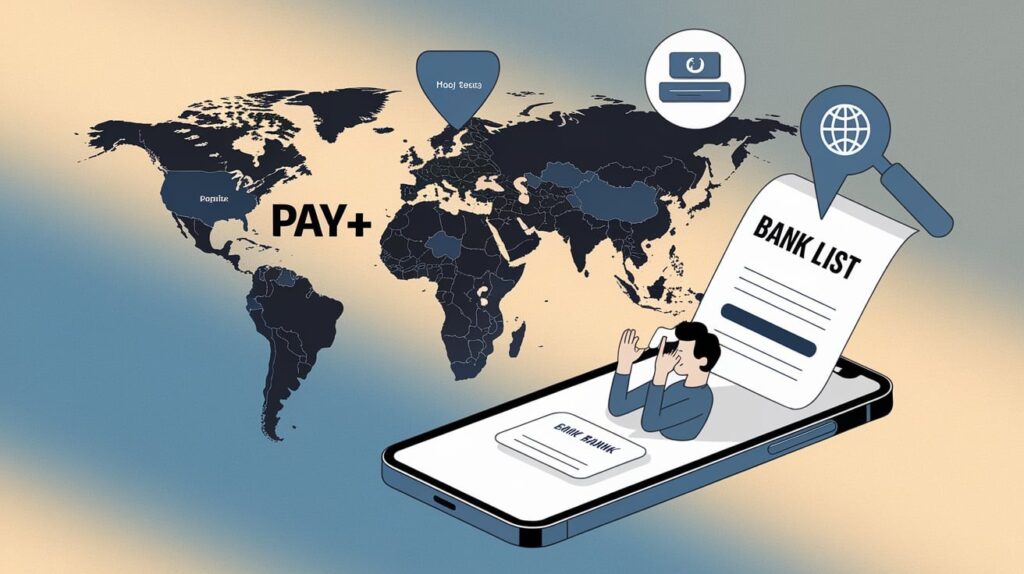
Apple Pay availability depends on your geographic location and banking institution. Not all banks participate in Apple Pay, and availability varies significantly by country.
Checking Bank Support: Visit Apple’s official website and search for “Apple Pay participating banks” to access the most current list. This list is updated regularly as new financial institutions join the program.
You can also contact your bank directly to confirm Apple Pay support and any specific requirements they may have.
Regional Availability: Apple Pay is available in over 70 countries and regions, but the participating banks and supported features vary by location.
Some regions may have limited functionality or different verification requirements based on local banking regulations.
Credit Union and Smaller Banks: Many smaller banks and credit unions have partnered with Apple Pay, though they may not appear on the main participating banks list.
Check with your financial institution directly if you don’t see them listed.
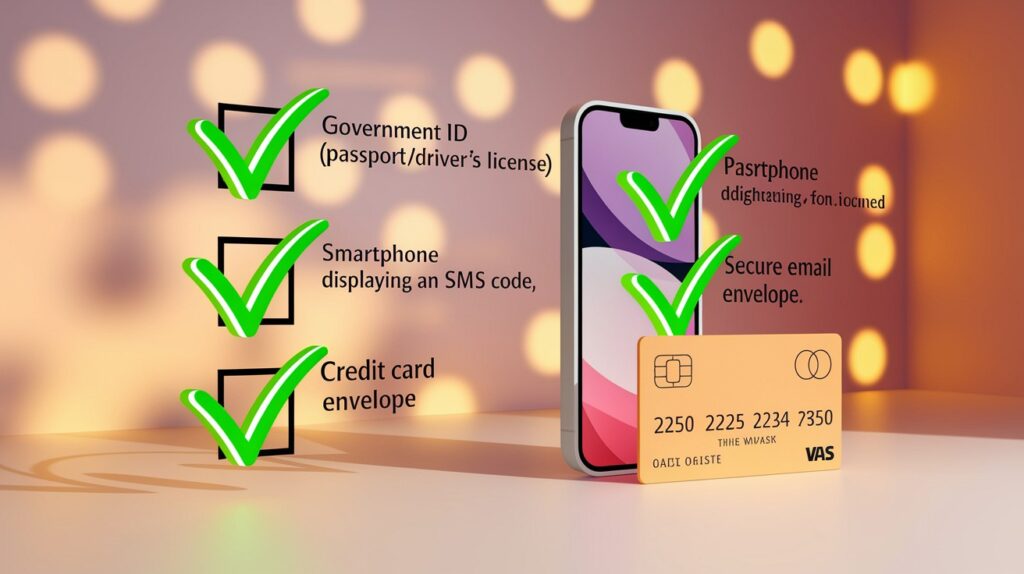
3. Required Personal Information
Successful Apple Pay verification requires specific personal information that matches your bank records exactly.
Having this information ready before starting the verification process will help avoid delays or complications.
Government-Issued ID: You may need to provide identification that matches the name on your bank account and payment cards. This could include a driver’s license, passport, or state-issued ID card. Some banks may request photos of your ID during the verification process.
Linked Email Address: Ensure the email address associated with your Apple ID matches or is recognized by your bank. Many banks send verification codes or confirmation messages to your registered email address.
If your Apple ID email differs from your banking email, update one or both accounts to match before starting verification.
Phone Number Verification: Your phone number must be current and accessible during the verification process.
Banks commonly send SMS verification codes to confirm your identity. The phone number should match what your bank has on file, or you should update your banking information beforehand.
Banking Information: Have your complete card details readily available, including the full card number, expiration date, and CVV security code. Ensure this information is current and matches exactly what your bank has on record.
Step-by-Step Verification Process
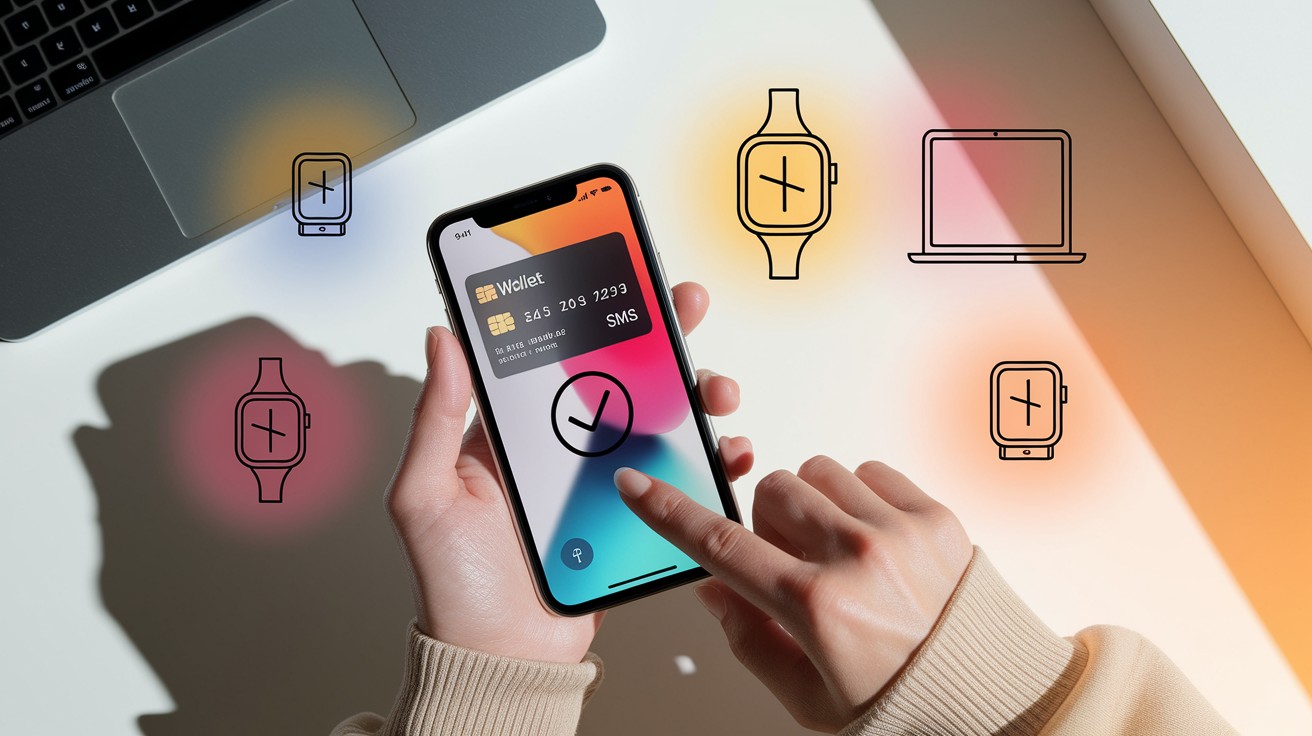
Step 1: Opening Wallet App
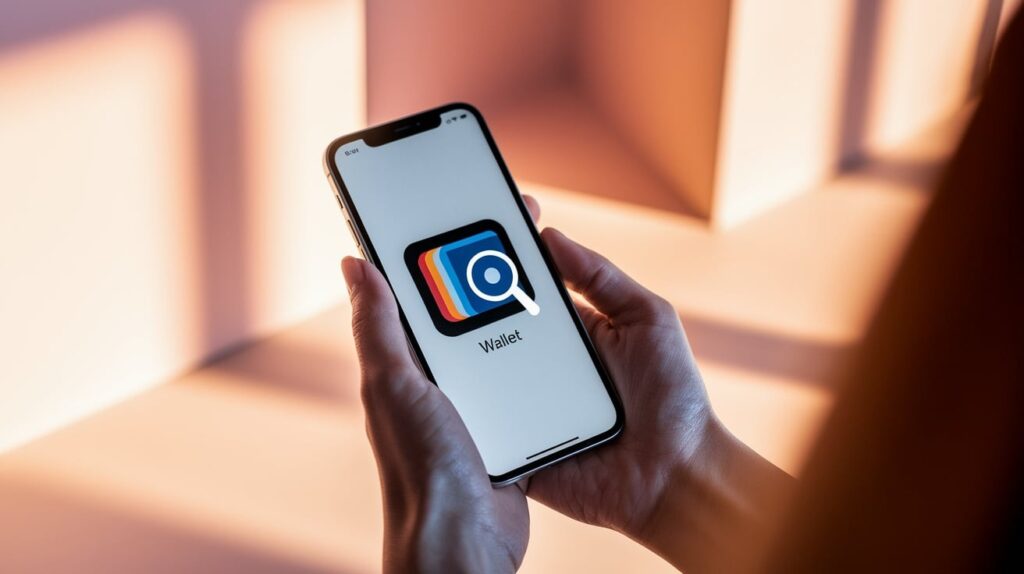
Locate and tap the Wallet app on your iPhone’s home screen-it features a black icon with colorful cards. If you can’t find it, swipe down from the middle of your home screen and search for “Wallet” in the search bar.
Step 2: Adding a Car
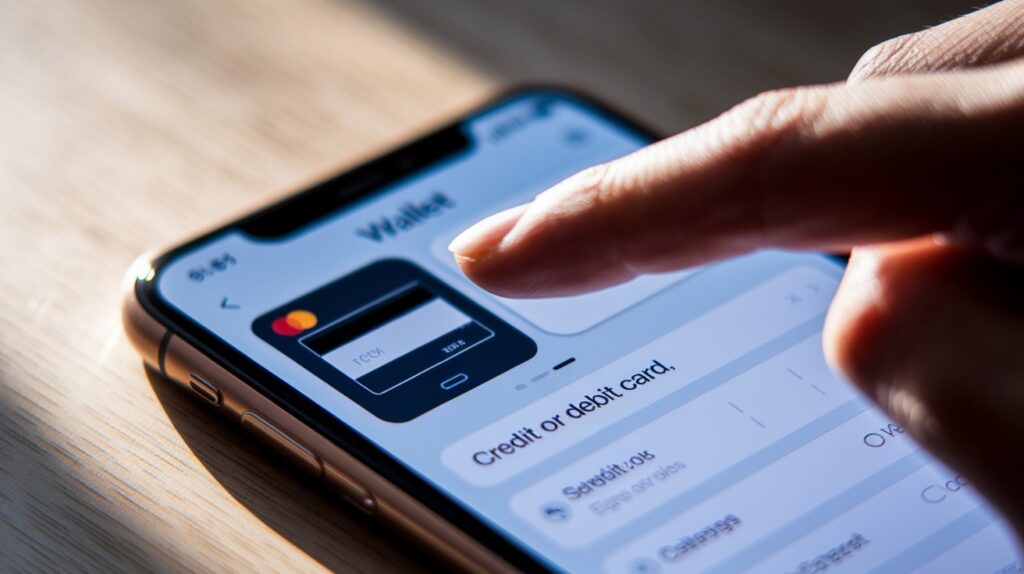
Tap the plus (+) sign in the upper-right corner of the Wallet app to begin adding a new payment method. Choose “Credit or Debit Card” from the options presented, then position your card within the camera frame or tap “Enter Card Details Manually.”
Step 3: Verification Prompts from the Bank
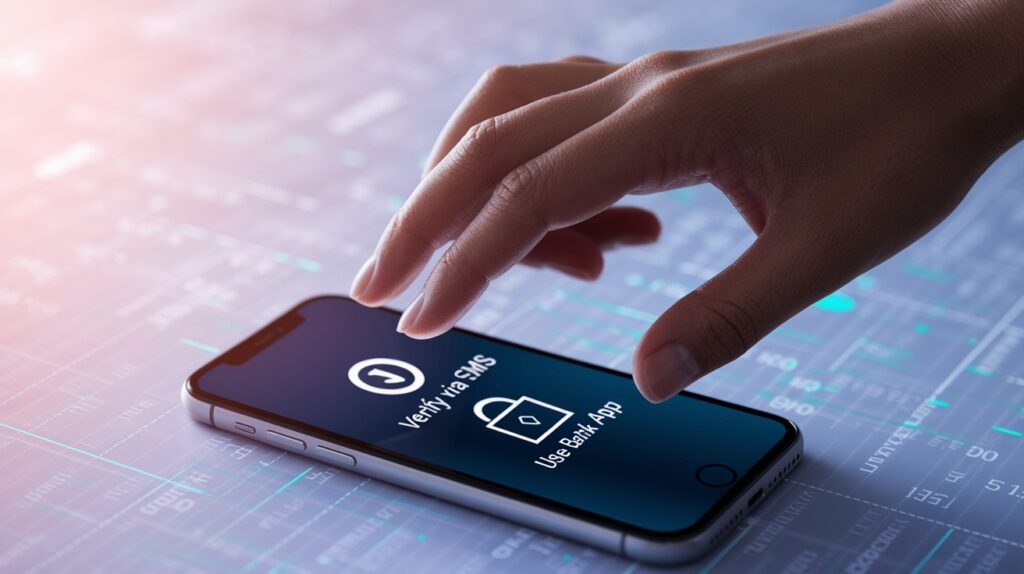
After entering your card information, your bank will receive a request to verify the card addition to Apple Pay.
You’ll see a screen indicating that verification is required, along with the available verification methods your bank offers.
Step 4: Completing the Verification via SMS, Email, or App
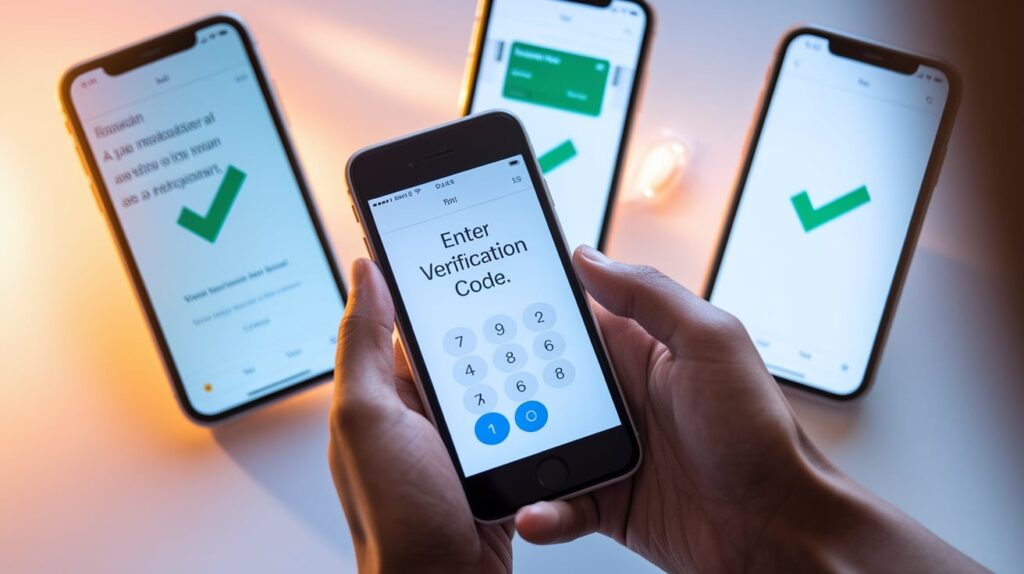
Select your preferred verification method from the options displayed (text message, email, or bank app notification). Enter the verification code you received or follow the prompts in your banking app to complete the process and activate your card for Apple Pay use.
How to Verify Apple Pay on Different Devices
|
Device |
Setup Location |
Key Steps |
Special Considerations |
|
Apple Watch |
Watch app on iPhone |
Navigate to My Watch > Wallet & Apple Pay > Add Card. Enter card details and complete bank verification through SMS, email, or a banking app. |
Requires separate verification even if the card exists on iPhone. Removing or resetting the watch will delete all payment cards and require re-verification. |
|
iPad |
iPad Settings |
Go to Settings > Wallet & Apple Pay > Add Credit or Debit Card. Follow same verification process as iPhone using camera scan or manual entry. |
Verification steps mirror iPhone process exactly. iPad Apple Pay only works for in-app and online purchases, not contactless payments. |
|
Mac with Touch ID |
System Preferences |
Open System Preferences > Wallet & Apple Pay > Add Card. Use Touch ID to authenticate and complete the bank verification process. |
Direct verification is possible using the built-in Touch ID sensor. Can process payments independently without other devices. |
|
Mac without Touch ID |
System Preferences |
Access System Preferences > Wallet & Apple Pay, but payment authentication requires nearby iPhone or Apple Watch. Initial card setup still needs bank verification. |
Cannot complete payments without an authenticated iPhone or Apple Watch nearby. The verification process is identical, but payment authorization differs. |
Universal Requirements: All devices need compatible operating systems, supported banks, and successful completion of bank-specific verification methods (SMS, email, or banking app confirmation).
Conclusion
Setting up and verifying Apple Pay across your devices opens up a world of convenient, secure payment options.
From quick contactless payments at your local store to seamless online shopping experiences, proper verification ensures you can take full advantage of Apple Pay’s capabilities.
Remember that each device requires its verification process, even if you’ve already set up Apple Pay elsewhere.
Keep your personal information updated with your bank, ensure your devices meet the compatibility requirements, and don’t hesitate to contact your financial institution if you encounter any verification issues.
With Apple Pay properly verified on your iPhone, Apple Watch, iPad, and Mac, you’ll enjoy faster checkouts, enhanced security, and the peace of mind that comes with Apple’s advanced payment protection.
Take a few minutes today to complete the verification process and start experiencing the future of digital payments.
Frequently Asked Questions
How do you authenticate Apple Pay?
Use Face ID, Touch ID, or device passcode to authenticate payments. Double-click the side button on iPhone or tap twice on Apple Watch to authorize transactions.
How to know if an Apple card is verified?
Open Wallet app and check your card. Verified cards show “Ready to use with Apple Pay” while unverified cards display “Verification Required” or similar status.
How do I test my Apple Pay card?
Make a small purchase at any contactless payment terminal or try an in-app purchase. Successful transactions confirm your Apple Pay card is working properly.