Your iPhone contains some of your most personal information – from private messages to banking details.
While Apple has built strong security into iOS, you might want extra protection for specific apps that contain sensitive data.
The good news? There are several ways to add security layers to your iPhone apps, though the process works differently than you might expect.
Apple’s approach to app security focuses on system-wide protection rather than individual app locks, but that doesn’t mean you’re out of options.
In this guide, we’ll walk through the most effective methods to secure your apps, from using Apple’s built-in Screen Time controls to setting up biometric protection.
You’ll learn practical techniques that work within iOS limitations, helping you keep prying eyes away from your most important applications.
Ready to take control of your app privacy? Let’s explore your options.
Understanding iPhone App Locking Capabilities
1. What Apple Natively Offers
Apple provides two main built-in options for controlling app access.
Screen Time allows you to set time limits and restrictions on specific applications, requiring a passcode to override these limits.
Guided Access temporarily locks your device to a single app, preventing users from switching to other applications.
While these aren’t traditional “app locks,” they offer meaningful control over how and when apps can be accessed on your iPhone.
2. Limitations of iOS for Locking Apps
- No system-level app lock feature exists; Apple doesn’t provide native individual app locking capabilities
- Third-party apps cannot directly lock other apps due to iOS security restrictions and sandboxing
- App Store policies prevent developers from creating true app-locking solutions that work across all applications
- iOS prioritizes system-wide security over granular app-level controls, limiting customization options
- Most workarounds require using Apple’s existing features rather than dedicated locking mechanisms
Method 1: Using Screen Time to Lock Apps
How Screen Time Works?
Screen Time functions as Apple’s built-in digital wellness and parental control system.
Originally designed to help users monitor and limit device usage, it can effectively restrict app access by setting time limits that require passcode authorization to bypass.
When you set up a Screen Time passcode (different from your device passcode), it creates a barrier that prevents unauthorized access to specified applications once their time limit expires.
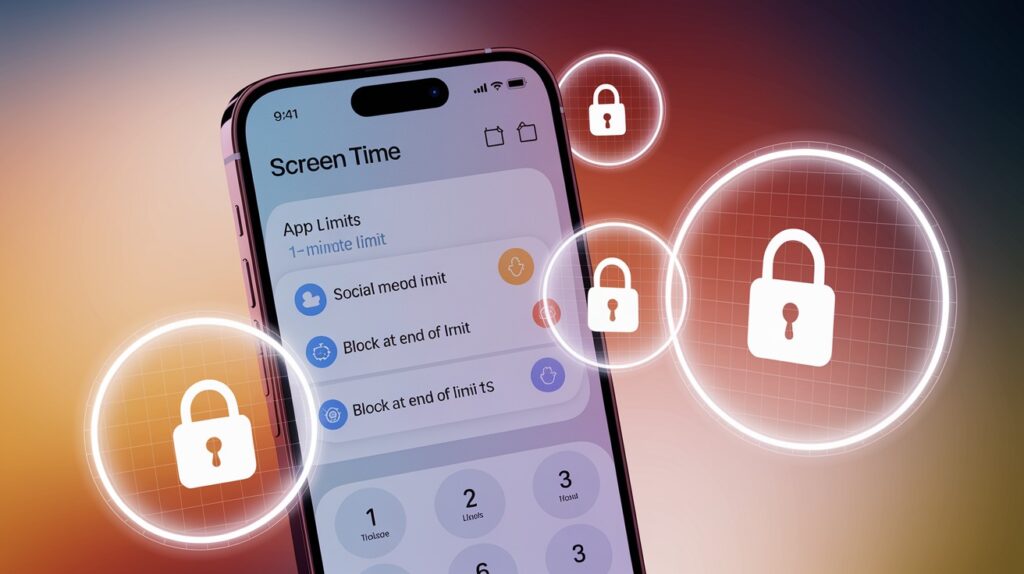
Step-by-Step Guide to Lock Apps with Screen Time
- Open Settings and tap “Screen Time.”
- Select “App Limits,” then tap “Add Limit.”
- Choose the specific apps you want to protect
- Set a minimal time limit (like 1 minute)
- Enable “Block at End of Limit”
- Create a unique Screen Time passcode
- Apps will now require this passcode after the time limit expires
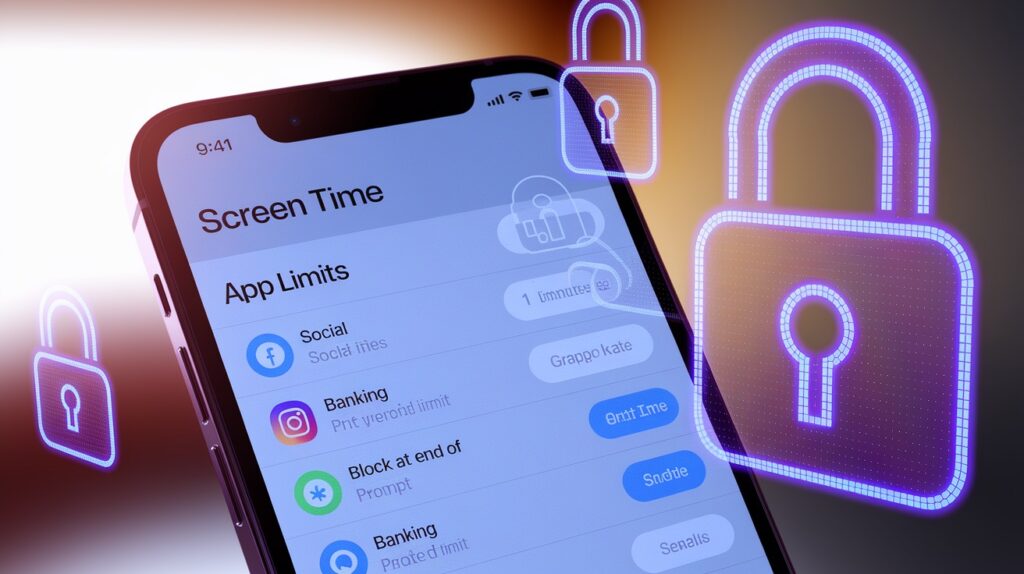
Best Use Cases for This Method
Social media platforms like Instagram and TikTok work well with this approach since you can control access during specific hours.
Gaming applications benefit from time-based restrictions that prevent excessive use.
Apps containing sensitive information, such as banking or work-related applications, gain an extra security layer through passcode requirements.
Method 2: Using Guided Access for Temporary Locking
What is Guided Access?
Guided Access is an accessibility feature that locks your iPhone to a single application, preventing users from switching to other apps or accessing the home screen.
This single-app mode was created to help users with attention difficulties focus on one task, but it serves as an effective temporary app security measure.
The feature essentially turns your entire device into a dedicated terminal for whatever application you’re currently using.
How to Enable and Use Guided Access
First, go to Settings > Accessibility > Guided Access and toggle it on. Set up authentication using either a passcode or Face ID/Touch ID for security. When you want to lock an app, open it and triple-click the side button (or home button on older models).
Configure any screen areas you want to disable, then tap “Start” in the upper right corner. To exit, triple-click again and authenticate.
Pros and Cons of Guided Access
This method excels for temporary control situations, such as lending your phone to someone or focusing on a single task without distractions.
However, it’s not practical for all-day app protection since it completely locks your device to one application.
You cannot receive calls, check messages, or use other apps while Guided Access is active, making it unsuitable for regular daily use.
Method 3: Using Face ID/Touch ID for App Security
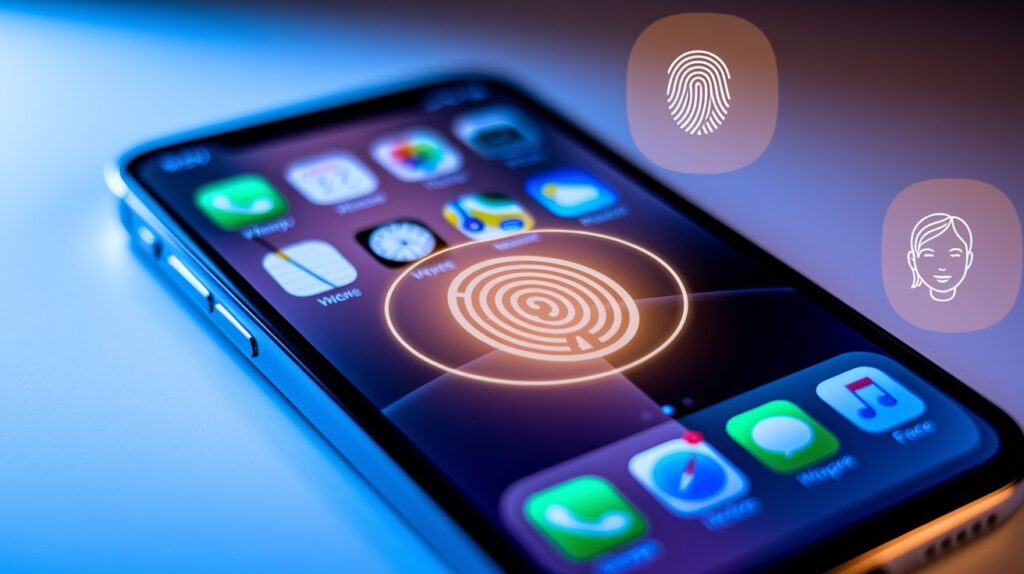
Apps That Support Biometric Lock
Many popular applications include built-in biometric security options. WhatsApp allows Face ID/Touch ID protection for opening the app.
The native Notes app supports biometric locks for individual locked notes. Most banking applications like Chase, Bank of America, and Wells Fargo include biometric authentication. Password managers such as 1Password and LastPass also support this feature for enhanced security.
How to Enable Face ID/Touch ID in Apps?
Each application handles biometric settings differently, but most follow similar patterns.
Open the app’s settings or privacy section and look for “Face ID & Passcode” or “Biometric Lock” options.
Enable the toggle and follow prompts to set up authentication. Some apps will immediately prompt you to use Face ID/Touch ID, while others require you to manually enable the feature in their security settings.
Tips to Enhance App Privacy Beyond Locking
- Hide Sensitive Apps in Folders – Create nested folders or place private apps on secondary home screen pages where they’re less visible.
You can also move sensitive applications to the App Library by removing them from your home screen entirely, making them accessible only through search or the App Library interface.
- Use Stronger iPhone Passcode – Replace the default 6-digit passcode with a custom alphanumeric password for enhanced security.
Go to Settings > Face ID & Passcode > Change Passcode > Passcode Options to select “Custom Alphanumeric Code” for maximum protection against unauthorized access attempts.
- Turn Off Notification Previews – Disable message and app content previews on your lock screen to prevent sensitive information from being visible.
Navigate to Settings > Notifications > Show Previews and select “When Unlocked” or “Never” to keep private content hidden from prying eyes.
- Keep iOS Updated for Security Patches – Install system updates promptly as they often contain critical security fixes that protect your data and apps.
Enable automatic updates in Settings > General > Software Update > Automatic Updates to ensure your device receives the latest protection without manual intervention.
Conclusion
While iPhones don’t offer traditional app locking like Android devices, you still have solid options to protect your privacy.
Screen Time works great for everyday app restrictions, Guided Access handles temporary situations perfectly, and biometric locks in individual apps provide seamless security.
The key is combining these methods with smart privacy habits – hiding sensitive apps, using strong passcodes, and keeping notifications private.
Remember, iOS security is designed around protecting your entire device rather than individual apps, so these workarounds work within Apple’s framework.
Your privacy matters, and these techniques give you meaningful control over who can access your personal information.
Start with the method that fits your needs best, and layer on additional security measures as needed. Your future self will thank you for taking these proactive steps.
Frequently Asked Questions
Can I completely lock individual apps on an iPhone like Android phones?
No, iOS doesn’t support true app locking. You can use Screen Time limits or biometric features within supported apps instead.
Will third-party app lockers work effectively on my iPhone?
Third-party app lockers have severe limitations on iOS due to Apple’s security restrictions and cannot lock other apps directly.
Does the Screen Time app limit drain my iPhone battery significantly?
No, Screen Time uses minimal battery power as it’s a built-in iOS feature that runs efficiently in the background.


