Your iPhone storage is screaming “full” and you’ve got thousands of photos eating up space. But here’s the problem – you don’t have access to a computer right now, or maybe your laptop doesn’t have enough storage either.
I’ve been there. Standing in a coffee shop, trying to take a photo, only to get that dreaded “Cannot Take Photo” message because your storage is maxed out. It’s frustrating when everyone online assumes you have a computer handy.
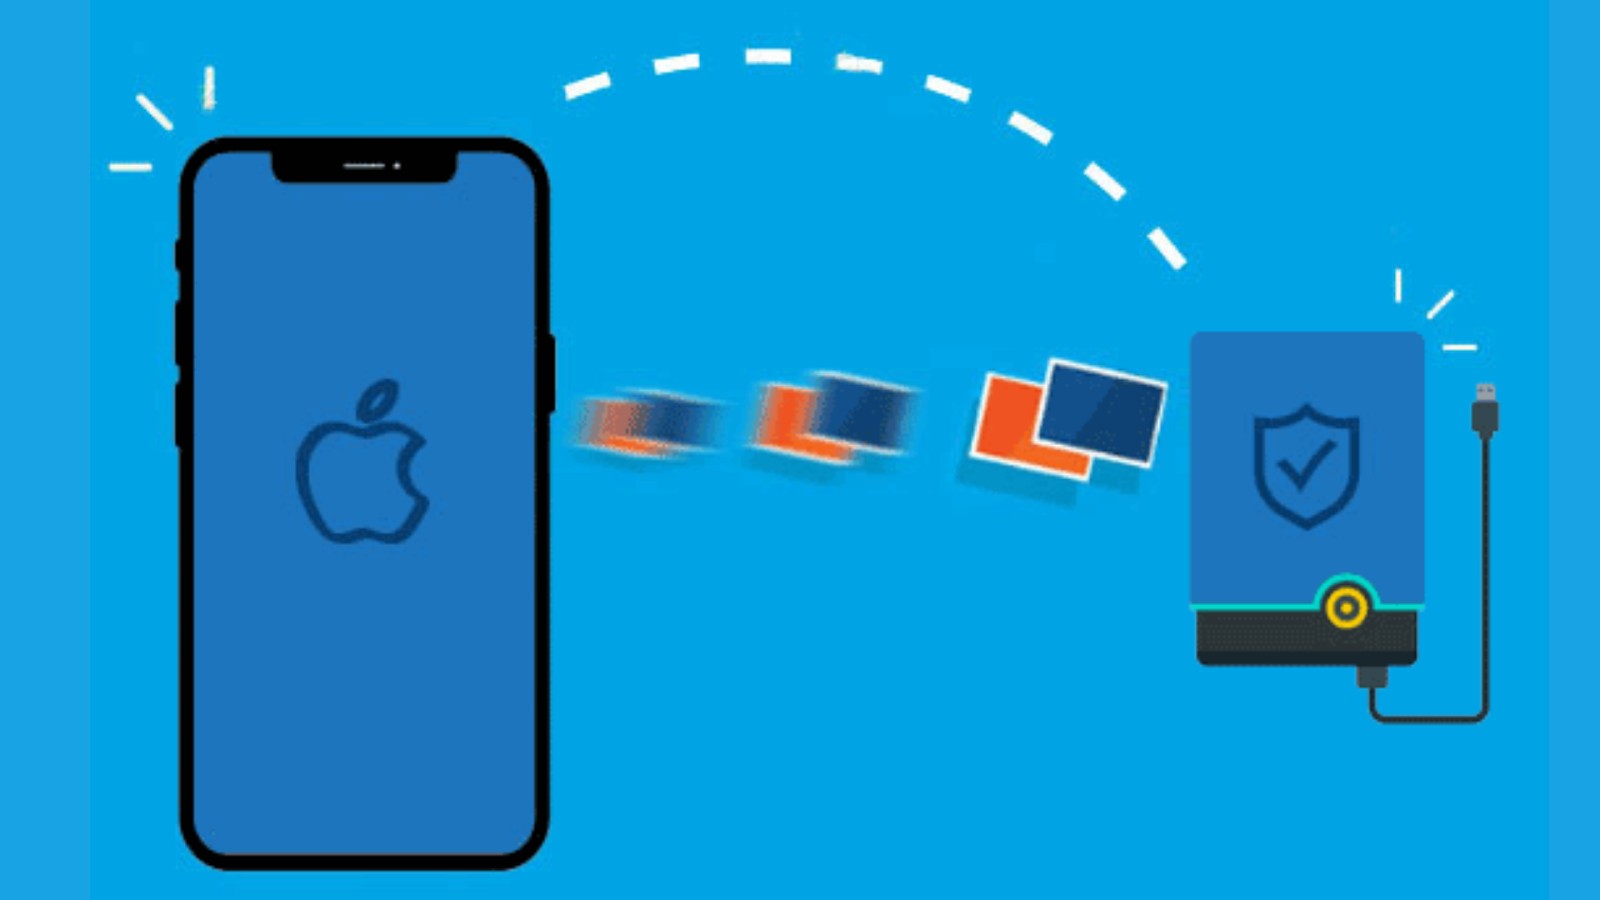
The good news is: You don’t need one. Your iPhone can connect directly to external hard drives using simple adapters. No iTunes, no computer, no complicated software.
Here’s what I’ll show you: How to connect your iPhone straight to an external drive. Step-by-step photo transfer using your iPhone’s built-in apps. What equipment do you need and where to get it?
I’ve helped hundreds of people solve this exact problem. No tech jargon or confusing steps – just a straightforward method that works every time. Let’s get those photos backed up and your storage freed up.
What You Need for Direct Transfer?
Let’s get straight to the point. You can’t just plug any cable into your iPhone and expect it to work. You need the right equipment, but it’s simpler than you might think.
Essential Equipment
Your iPhone needs to be relatively recent. Any iPhone running iOS 8 or later will work perfectly. That covers pretty much every iPhone from the iPhone 5s onward.
You’ll need an external hard drive with enough free space for your photos. Check how many photos you have first – 1000 photos typically take about 2-5GB of space, depending on quality.
Here’s where it gets specific. Your iPhone model determines which adapter you need:
iPhone 8 and earlier → Lightning adapter iPhone 15 and newer → USB-C adapter
Don’t cheap out on the adapter. Get an official Apple adapter or a certified third-party one. Cheap knockoffs cause connection problems and can damage your devices.
You might also need a compatible cable depending on your setup. Most external drives come with USB-A cables, so check what ports your adapter has.
Compatible Storage Devices
Not all storage devices work the same way. Some are plug-and-play, others need extra steps.
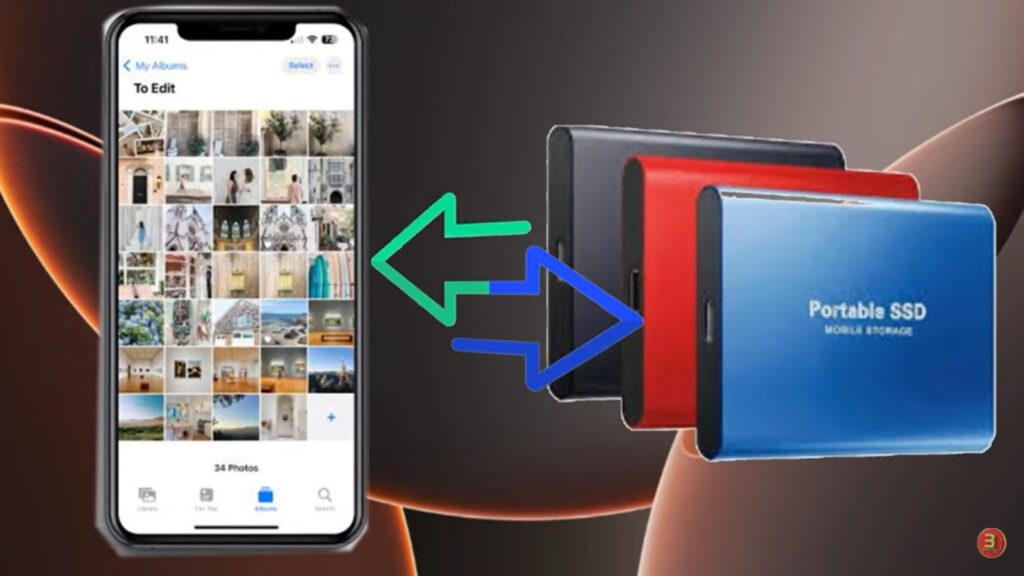
External hard drives with USB connectors are your most flexible option. Any standard USB external drive works as long as you have the right adapter. WD, Seagate, and Toshiba – they all work fine.
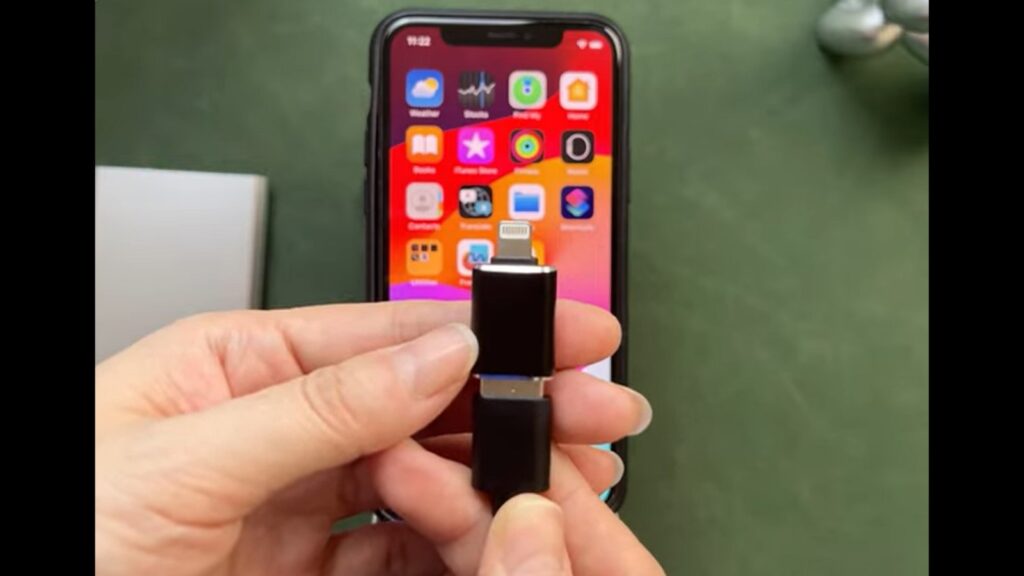
Lightning flash drives are the easiest option if you have an older iPhone. The SanDisk iXpand series plugs directly into your Lightning port. No adapter is needed. They’re more expensive per gigabyte but incredibly convenient.
USB flash drives work with adapters. Any regular thumb drive becomes iPhone-compatible when you add a Lightning or USB-C adapter. This is often the cheapest route if you already own flash drives.
Portable SSDs offer the best performance. Samsung T7, SanDisk Extreme Pro – these connect just like regular external drives but transfer files much faster. Worth it if you’re moving thousands of photos.
Power matters for larger drives. Some external drives need more power than your iPhone can provide. If a drive doesn’t work, try one that has its power supply or uses a Y-cable for extra power.
Format compatibility is usually automatic. Most drives work right out of the box, but occasionally you might need to reformat them on a computer first.
Step-by-Step Transfer Process
Time to make it happen. The actual transfer process is easier than setting up most apps. I’ll walk you through each step so nothing goes wrong.
Connecting Your Devices
Start with your iPhone charging port. Plug your Lightning or USB-C adapter firmly into the bottom of your iPhone. You should hear a small click when it’s properly seated.
Now connect your external drive to the adapter. The USB cable from your drive goes into the adapter’s USB port. Again, make sure it clicks in securely.
Your iPhone will wake up and show a notification asking for permission. This is normal – don’t panic. Tap “Allow” when it asks if the connected device can access your photos and files.
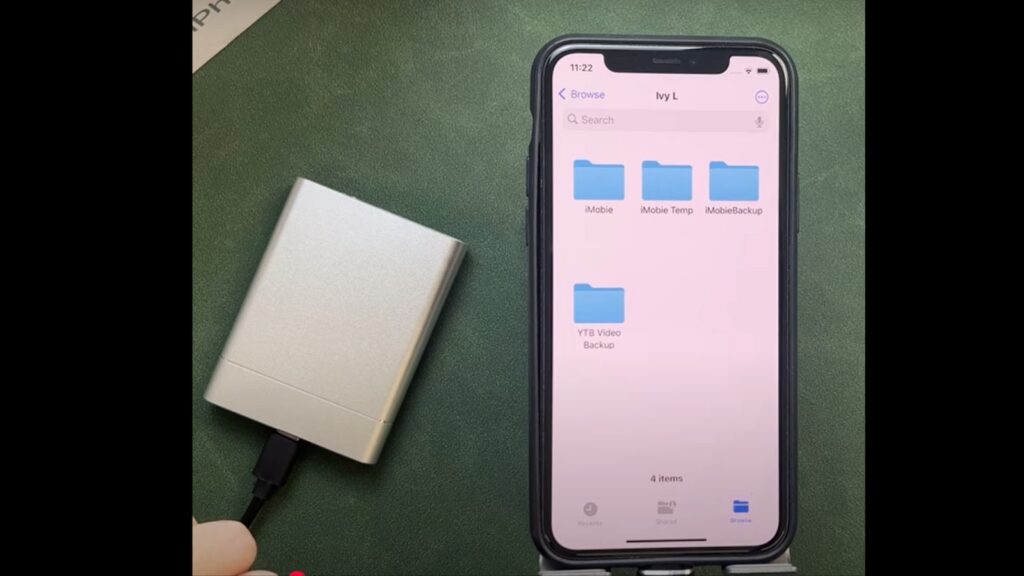
Check the Files app to verify the connection. Open Files, tap “Browse” at the bottom, then look under “Locations.” You should see your external drive listed there. If you don’t see it, unplug everything and try again.
Transferring Photos Using Files App
Open your Photos app first. This is where you’ll select which photos to move. You can choose individual photos or entire albums.
Select the photos you want to transfer. Tap “Select” in the top right corner, then tap each photo you want. Pro tip: Tap and drag to select multiple photos quickly.
Tap the Share button – it looks like a square with an arrow pointing up. You’ll see a bunch of sharing options appear.
Choose “Save to Files” from the options. Don’t pick “Save to Drive” or other cloud options – you want the local Files option.
Find your external drive under “Locations.” Tap “Browse” if you’re not already there, then look for your drive name in the Locations section.
Pick a folder on your drive or create a new one. Tap “Add” or “Save” to start the transfer. Your photos will begin copying immediately.
Managing the Transfer
Don’t put your iPhone to sleep. Keep the screen on and the phone unlocked during the entire transfer. If your iPhone locks, the transfer might stop.
Watch the progress in the Files app. You can see how many files are left to transfer. Small photos move quickly, but videos and Live Photos take longer.
Keep an eye on your battery. Large transfers can drain your iPhone faster than usual. If your battery drops below 20%, plug in a charger or transfer smaller batches.
Don’t disconnect anything until you see “Transfer Complete” or all files finish copying. Pulling out cables early can corrupt your photos.
Check your external drive when finished. Open Files, go to your drive and make sure all your photos are there. Open a few random photos to verify they transferred correctly.
Your photos are now safely backed up and you can delete them from your iPhone to free up space.
Alternative Direct Methods

The adapter method isn’t your only option. There are two other ways to get photos off your iPhone without touching a computer. Both have their advantages.
Lightning Flash Drives
Think of these as super-powered thumb drives that plug directly into your iPhone. No adapters, no extra cables – just plug and go.
SanDisk iXpand Flash Drive is the most popular choice. It has a Lightning connector on one end and a regular USB connector on the other. You can use it with your iPhone, and then plug it into any computer later.
The dedicated app makes everything smoother. Download the free iXpand Drive app from the App Store. It gives you more control over your transfers and lets you organize files better than the basic Files app.
Here’s what makes them special: No adapter is required for older iPhones. You get instant plug-and-play functionality – no setup needed. Just plug it in and start transferring.
The downside? They’re more expensive per gigabyte than regular external drives. A 128GB iXpand costs about the same as a 1TB regular external drive. But the convenience factor is huge.
Perfect for people who travel or need quick backup solutions without carrying extra gear.
Using iPhone’s Export Feature
iOS has a hidden gem that most people never find. The “Export Unmodified Original” feature gives you more control over how photos transfer.
Here’s how it works differently. Instead of using “Save to Files,” you use a special export option that preserves everything about your photos.
Start the same way: Photos app → Select your photos → Tap the Share button.
But then choose “Export Unmodified Original” instead of the regular save option. This keeps all the original data intact – no compression, no quality loss.
Pick your external storage device from the locations list, just like before. The difference is in what gets saved.
This method maintains original photo quality and metadata. Your photos keep their original file names, dates, location data, and any edits you made. It’s like getting a perfect copy.
The catch? This feature got major improvements in iOS 18.4 and later. If you have an older iOS version, you might not see all these options.
Why use this method? When photo quality matters most. When you need to preserve editing information. When you’re backing up photos for professional use.
It takes slightly longer than regular transfers, but the quality preservation is worth it for important photos.
Benefits of Computer-Free Transfer
Let me tell you why this method beats the traditional computer route. Once you try direct transfer, you’ll wonder why you ever bothered with computers for photo backup.
Convenience Advantages
Freedom is the biggest win. You can transfer photos anywhere – in your car, at a coffee shop, at your friend’s house. No need to hunt for a computer or wait until you get home.
Urgent situations become manageable. Your iPhone storage fills up right before an important event. No problem. Plug in your adapter, move some photos, and you’re back in business within minutes.
Zero software installation headaches. Forget about installing iTunes, updating drivers, or dealing with computer compatibility issues. Your iPhone already has everything it needs to be built right in.
The process is simpler than computer transfers. Think about it: Plug in the adapter, select photos, and tap save. Done. Compare that to connecting an iPhone, opening iTunes, syncing, waiting, and hoping nothing crashes.
No computer means no computer problems. Is your laptop’s hard drive full? Not your problem. Computer running slow? Doesn’t matter. Are USB ports not working? Who cares.
Direct Control Benefits
You become the master of your photo destiny. Want to transfer just vacation photos? Easy. Need to move only videos? Simple. The choice is entirely yours – no computer deciding what gets synced and when.
Organize files exactly how you want right on the external drive. Create folders by date, event, or person. Your computer’s photo management software can’t mess with your organization system.
No intermediate storage means no bottlenecks. Traditional computer transfers often fail because your computer runs out of space while moving files. With a direct transfer, your photos go straight from your iPhone to an external drive – no stops in between.
Real-time monitoring keeps you informed. You can watch the progress bar, see exactly which files are transferring, and know immediately if something goes wrong. No mysterious computer processes running in the background.
Instant access to your backed-up photos. Plug your external drive into any computer later and your photos are right there, organized exactly how you left them. No need to figure out where iTunes buried them in some complex folder structure.
You control the timing completely. Transfer during your lunch break, while watching TV, or whenever you have a few free minutes. No need to schedule computer time or wait for someone else to finish using the family computer.
Conclusion
You now have the power to backup your iPhone photos anywhere, anytime, without being tied to a computer. The direct transfer method using Lightning or USB-C adapters isn’t just convenient – it’s a game changer for managing your photo storage.
Remember the key steps: Connect your adapter, grant device permissions, use the Files app, and transfer through the Photos share feature. It’s that straightforward.
The best part? You can do this in your car, at a friend’s house, or anywhere you need immediate storage relief. No more waiting to get home to your computer or dealing with slow cloud uploads.
Invest in a quality adapter and keep it handy. Your future self will thank you when your iPhone storage fills up again – and it will. Now you’re prepared to handle it instantly, anywhere you are.
Your photos are safe, and your storage is free.
Frequently Asked Questions
Which iPhones support direct external drive connections?
All iPhones running iOS 8 or later support external connections using Lightning or USB-C adapters for direct photo transfers.
Do I need special apps to transfer photos?
No special apps are required. Use built-in Photos and Files apps. Some Lightning drives include optional apps for enhanced features.
Will photo quality be reduced during direct transfer?
No, direct transfers maintain original photo quality and resolution. Choose “Export Unmodified Original” to preserve complete quality and metadata.
Can I transfer videos the same way as photos?
Yes, videos are transferred using an identical process. Large video files take longer, so ensure adequate battery and storage space available.
What if my external drive isn’t recognized by my iPhone?
Check adapter compatibility, try different cables, restart the iPhone, or use an externally powered drive. Verify drive format is iPhone-compatible.