We’ve all been there: you open your browser or search app, and instead of a clean search bar, you’re greeted with a list of what everyone else is searching for.
Celebrity drama, viral videos, and breaking news you didn’t ask for – these trending search suggestions can feel overwhelming and distracting.
Maybe you prefer a minimalist search experience, or you’re worried about your browsing habits being influenced by popular topics.
Perhaps you simply want faster loading times without all the extra content cluttering your interface.
The good news? You don’t have to put up with this feature. Learning how to turn off trending searches takes just a few minutes and works across all your devices.
Let’s explore the simple steps to reclaim your search bar and create a cleaner, more focused browsing experience.
What Are Trending Searches?

Trending searches are popular query suggestions that search engines display based on what millions of users are currently looking up.
These real-time recommendations reflect topics gaining significant search volume within specific time frames – from the past few hours to several days.
Search engines like Google and Bing use this data to help users stay informed about current events, viral content, and popular topics.
The algorithm analyzes search patterns globally or regionally to determine which queries are experiencing sudden spikes in interest.
Where do You Usually See Them?
You’ll encounter these suggestions most commonly when opening Google’s homepage, typing in Chrome’s address bar, or launching mobile search apps.
They also appear in Bing search results, Safari’s start page, and even voice assistants like Siri or Google Assistant when you ask “what’s trending” or begin voice searches.
Why Turn Off Trending Searches?
1. Privacy Concerns
Many users worry about data collection practices behind trending suggestions. These features often track your location, search history, and browsing patterns to provide localized trends.
Even if you don’t click on trending topics, search engines may still log your exposure to them, building detailed profiles of your interests and behavior.
2. Personalization Issues
Trending searches can feel completely irrelevant to your actual needs.
You might see celebrity gossip when you’re researching work projects, or sports updates when you have zero interest in athletics.
These suggestions can also create information bubbles, pushing popular content that doesn’t match your personal interests or professional requirements.
3. Performance and User Experience
Removing trending searches creates a cleaner, faster interface. Without loading additional suggestion data, your search experience becomes more streamlined.
You’ll spend less time scrolling past irrelevant content and can focus directly on your intended queries, leading to improved productivity and reduced visual clutter.
How to Turn Off Trending Searches on Different Devices?
1. Turn Off Trending Searches on Android

- Using the Google App, open the Google app and tap your profile picture in the top-right corner. Select “Settings,” then “General.”
Look for “Autocomplete with trending searches” and toggle it off. You can also disable “Show trending searches” in the same menu. Restart the app to ensure changes take effect.
- Using Chrome Browser, Launch Chrome and tap the three dots menu. Go to “Settings” > “Privacy and Security” > “Sync and Google Services.”
Find “Autocomplete searches and URLs” and turn off trending search suggestions. Alternatively, visit google.com/preferences and adjust autocomplete settings there.
2. Turn Off Trending Searches on iPhone
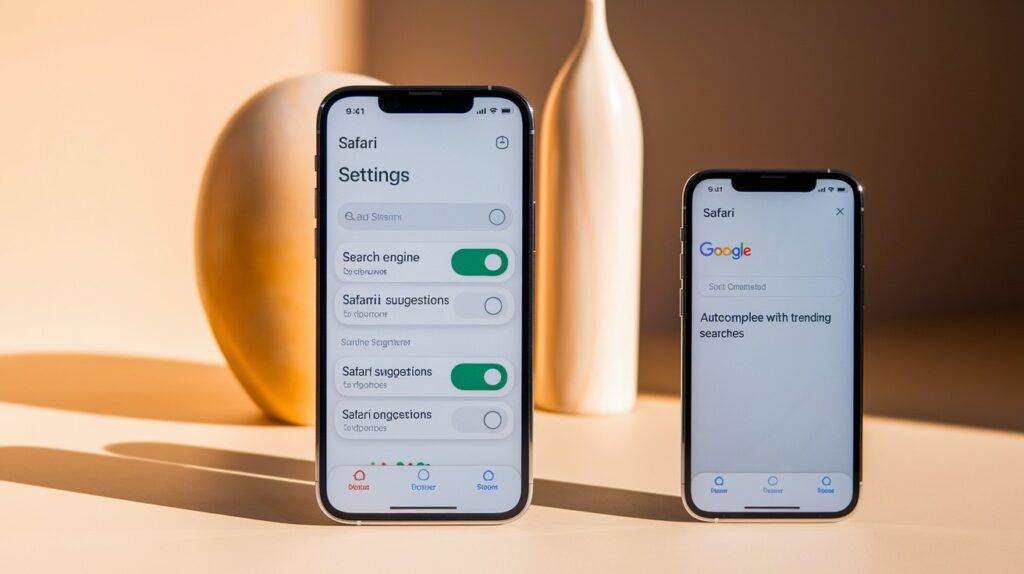
- Using Safari Open Settings app, scroll to Safari, and tap “Search Engine Settings.” Choose your preferred search engine, then disable “Search Engine Suggestions” and “Safari Suggestions.”
This removes trending content from Safari’s search interface.
- Using Google App on iOS, Open the Google app, tap your profile icon, select “Settings” > “General,” then disable “Autocomplete with trending searches” and related suggestion features.
3. Turn Off Trending Searches on Desktop

- Google Chrome: Click the three dots menu, go to “Settings” > “You and Google” > “Sync and Google Services.” Disable “Help improve Chrome’s features and performance” and “Autocomplete searches and URLs.”
Visit chrome://settings/searchEngines to modify search behavior further.
- Firefox or Edge.e In Firefox, go to Settings > Privacy & Security > Address Bar suggestions. Uncheck “Trending searches.” For Edge, access Settings > Privacy, search, and services > Address bar and search, then disable “Search and site suggestions.”
How to Turn Off Trending Searches in Google Account Settings?
Disable Search Personalization
Visit myaccount.google.com and sign in to your Google account. Click on “Data & Privacy” from the left menu, then scroll down to “History Settings.”
Select “Web & App Activity” and click “Turn Off” to stop Google from saving your search and browsing data. You can also access these settings by going to myactivity.google.com and clicking the gear icon for activity controls.
Pause Web & App Activity
This setting controls how Google collects data from your searches, websites visited, and app usage. When paused, Google stops creating a personalized profile that influences trending suggestions.
Go to “Web & App Activity” settings and toggle the switch to “Paused.” You’ll see a confirmation dialog explaining that this may limit some Google features, but it significantly reduces personalized trending content.
Clear Search History
To reset existing suggestions completely, return to myactivity.google.com and click “Delete activity by.” Choose “All time” from the date range dropdown, select “Search” from the product list, and click “Delete.”
This removes your historical search data that Google uses to generate personalized trending topics and autocomplete suggestions.
Common Issues & Troubleshooting
- Clear Browser Cache and Cookies – Trending searches may persist due to stored browser data.
Clear your browser’s cache, cookies, and site data, then restart the browser. This forces the application to load fresh settings without old cached preferences.
- Update Your Apps and Browser – Outdated versions might not properly apply new settings or may have bugs preventing changes from taking effect.
Check for updates in your app store or browser’s help menu and install the latest version.
- Sign Out and Back Into Your Google Account – Sometimes, settings don’t sync properly across devices.
Sign out of your Google account completely, wait a few minutes, then sign back in to refresh your account preferences and ensure changes are applied.
- Check Multiple Google Accounts – If you’re signed into multiple Google accounts, trending search settings might be controlled by a different account than expected.
Switch between accounts and verify that settings are disabled on the correct profile you’re actively using.
- Wait for Changes to Propagate – Settings modifications can take several hours to fully take effect across all Google services and devices.
Be patient and avoid repeatedly changing settings, as this can sometimes cause conflicts or delays in implementation.
Conclusion
Managing your trending search settings might seem like a small change, but it can make a huge difference in your daily browsing experience.
You now have all the tools needed to create a cleaner, more private, and focused search environment across every device you use.
Remember that these settings work best when applied consistently, make sure to adjust them on all your devices and browsers for the most effective results.
If you run into any issues, don’t worry. Most problems resolve themselves within a few hours as changes sync across Google’s systems.
Your search bar should now feel more personal and less cluttered. No more random celebrity news or viral topics interrupting your workflow. Just clean, efficient searching that gets you exactly where you need to go, when you need to get there.
Frequently Asked Questions
How do I turn off trending Google searches?
Go to Google app settings, select “General,” then disable “Autocomplete with trending searches” and “Show trending searches” options.
How do I turn on Autocomplete?
Open the Google app settings, go to “General,” then enable “Autocomplete searches and URLs” or similar autocomplete features.
How do I delete recent searches on Google?
Visit myactivity.google.com, select search history, choose time range, then click “Delete” to remove recent search records.
Is it better to delete or clear history?
Deleting removes specific items while clearing removes everything. Choose based on whether you want selective or complete removal.
Can hackers see your deleted search history?
Deleted search history is generally secure, but determined hackers with device access might recover some data using specialized tools.


